Contents
Why Doorbell Coverage Matters More Than Installation
When people think about installing a video doorbell, the first focus is usually on the installation process—where to mount it, how to connect it, and whether it requires wiring. But in real-world usage, installation is only the beginning. What truly determines the effectiveness of a video doorbell system is coverage quality.
Coverage refers to how well your doorbell system captures what matters outside your home and how effectively it alerts you inside. A poorly planned setup can leave blind spots at the entrance, delayed notifications, or situations where you miss visitors entirely—even if the device is technically “working.”
For example, a camera placed too high may miss package deliveries left at the door. A system without proper indoor alert coverage may notify your phone, but no one inside the home hears the alert. In these cases, the issue isn’t installation—it’s coverage design.
A well-planned doorbell system should achieve three goals:
– Clear visibility of the entry area
– Reliable indoor alert distribution
– Instant communication between visitor and homeowner
Once these elements work together, the system becomes more than a camera—it becomes a full entry monitoring solution.
Understanding How a Video Doorbell + Chime System Works
A modern video doorbell system typically includes three connected components:
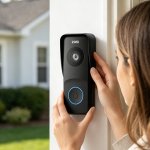
1. The doorbell camera (outdoor unit)
This is installed near the main entrance and captures live video, motion events, and visitor activity.
2. The mobile app (remote access layer)
This allows users to receive alerts, view live video, and communicate with visitors from anywhere.
3. The indoor chime (audible alert system)
This device produces a physical sound inside the home when someone presses the doorbell or triggers motion detection.
The key misunderstanding many users have is assuming that smartphone alerts are enough. In reality, mobile notifications are not always reliable—phones may be silent, in another room, or have delayed push notifications.
The indoor chime solves this gap by providing instant, audible awareness inside the home. It ensures that someone in the kitchen, living room, or bedroom can hear the doorbell without needing to check a phone.
Together, these three components form a layered notification system:
– Outdoor detection
– Remote notification
– Indoor audible alert
This layered approach is what makes modern systems significantly more effective than traditional doorbells.
Planning Your Doorbell Placement for Outdoor Coverage
Outdoor coverage is the foundation of the entire system. If the camera angle is incorrect, even the best technology cannot compensate. For more detailed guidance, learn how to install a door security camera and position it for reliable coverage.
A good placement strategy focuses on three key elements:
1. Entry Point Visibility
The camera should fully capture:
– Faces at the door
– Full upper body view
– Package drop-off area
A common mistake is placing the camera too high. While this may seem secure, it often results in only capturing the tops of heads and missing critical details at ground level.
2. Distance and Angle Balance
The camera should not be too close or too far from the entry point. A balanced distance ensures:
– Clear facial recognition
– Reduced distortion
– Wider field coverage without losing detail
Slight downward angle positioning is usually more effective than a straight horizontal view.
3. Lighting and Environmental Considerations
Outdoor lighting plays a major role in video clarity. Avoid:
– Direct sunlight facing the lens
– Strong reflections from glass or metal surfaces
– Obstructed views caused by plants or decorations
Night visibility should also be considered. Entry areas with minimal ambient light may require positioning that captures streetlight or porch light coverage.
Proper outdoor placement ensures that the system captures both activity and evidence-quality detail, not just motion alerts.
Choosing the right camera for the environment is equally important. If you’re also considering additional outdoor surveillance around your entrance, driveway, or yard, learn how to choose the best outdoor security camera for your home.
Indoor Chime Placement Strategy
While outdoor coverage gets most of the attention, indoor chime placement is just as important for usability.
The goal of the chime is simple: ensure that anyone inside the home hears the alert immediately, regardless of location.
1. Centralized Placement Works Best
The most effective location is usually a central area of the home, such as:
– Hallways connecting rooms
– Living room entry points
– Shared common areas
This allows sound to travel evenly across multiple spaces.
2. Avoid Sound Blockers
Chimes should not be placed:
– Inside cabinets
– Behind furniture
– Near heavy curtains or thick walls
These obstacles reduce sound clarity and delay awareness.
3. Multi-Room Coverage Strategy
In larger homes or multi-floor layouts, a single chime may not be enough. In such cases, multiple chimes can be placed strategically:
– One near sleeping areas
– One in shared living spaces
– One near entry-facing zones
This ensures consistent coverage regardless of where people are located.
Step-by-Step Setup Flow
A proper setup process focuses less on technical wiring and more on system coordination.
Step 1: Prepare Your Network Environment
Before installation, ensure:
– Stable WiFi coverage near the entrance
– Strong signal strength in the chime area
– Minimal network congestion during setup
Most performance issues come from weak connectivity rather than hardware limitations.
Step 2: Mount the Doorbell Device
Secure the device at a height and angle that:
– Covers the full entryway
– Avoids direct glare
– Keeps the lens stable and vibration-free
Even small angle adjustments can significantly impact coverage quality.
Step 3: Connect the System
Pair the doorbell with the mobile app and indoor chime. This step usually involves:
– Scanning a setup code or connecting via WiFi
– Syncing the chime to the doorbell signal
– Confirming device recognition
Step 4: Test the Full System
After setup, simulate real-life scenarios:
– Ring the doorbell from outside
– Check indoor chime response
– Verify mobile notification speed
– Test live video and audio response
A full system test ensures every layer of coverage is functioning correctly.
Optimizing Indoor + Outdoor Experience After Setup
After installation, optimization is key to improving long-term performance.
1. Improve Detection Accuracy
Adjust motion detection zones to focus only on:
– Entry pathway
– Doorstep area
This reduces false alerts caused by passing cars, animals, or wind movement.
2. Strengthen Notification Speed
Notification delays are often caused by:
– Weak WiFi signal
– Router distance from device
– Network congestion
Improving router placement or using stronger signal coverage can significantly enhance responsiveness.
3. Enhance Audio Reliability
Indoor chime performance can be improved by:
– Increasing volume levels appropriately
– Positioning chimes away from soft surfaces
Real-Life Usage Scenarios
A properly configured system becomes part of daily home routines.
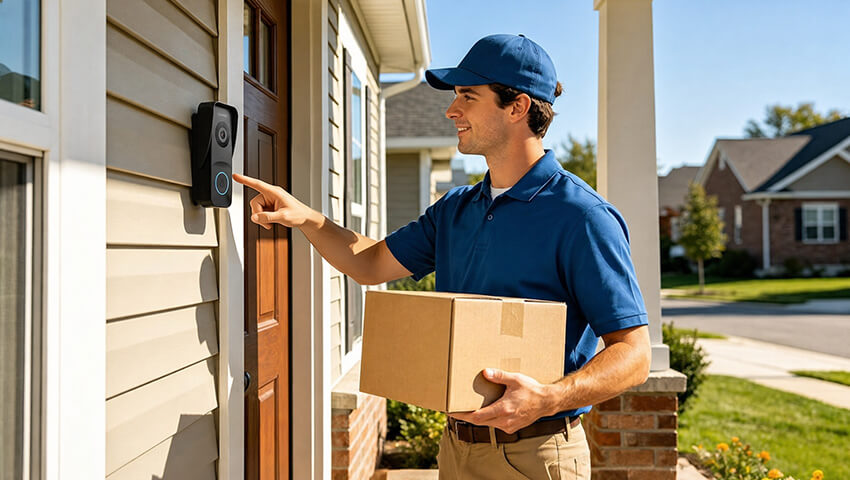
1. Package Delivery Scenario
When a delivery arrives:
– Motion or button press triggers alert
– Indoor chime sounds immediately
– Mobile notification is sent simultaneously
– User can communicate directly with delivery personnel
– Visitor Scenario in Apartment Living
2. In apartment environments:
– No wiring is required
– Multiple rooms receive alerts via chime
– Residents never miss a visitor due to phone silence
– Night-Time Security Scenario
3. During nighttime:
– Motion detection activates recording
– Indoor chime provides awareness if needed
– Mobile alert ensures remote monitoring
These scenarios highlight how coverage improves not just security, but daily convenience.
Troubleshooting Common Coverage Problems
Even well-installed systems may encounter issues over time.
1. Problem: No Indoor Sound
Possible causes:
Chime not paired correctly
Volume set too low
Device placed in a blocked location
2. Problem: Delayed Notifications
Common reasons:
Weak WiFi signal
Router overload
Interference from other devices
3. Problem: Missed Alerts in Certain Rooms
This usually indicates:
Insufficient chime coverage
Poor sound distribution
Need for additional chime placement
4. Problem: Blurry or Incomplete Outdoor View
Often caused by:
Incorrect angle
Dirty lens
Lighting imbalance
Addressing these issues early ensures consistent system performance.
Conclusion
A video doorbell system is not defined by how easily it is installed, but by how effectively it covers both indoor and outdoor environments. Proper placement, balanced chime distribution, and optimized connectivity work together to create a reliable entry monitoring system.
When designed correctly, the system provides:
– Full visibility of the entrance
– Immediate awareness inside the home
– Seamless communication with visitors
– Reduced risk of missed deliveries or security events
Ultimately, coverage—not installation—is what transforms a simple doorbell into a dependable home security solution.
Related Security Guides
- How to Choose Outdoor PTZ Camera for Your Property
- How to Install a Door Security Camera: Complete Step-by-Step Guide
- How to Adjust Your Security Camera Angle for the Best Coverage
- How to Eliminate Blind Spots in Backyard Security Cameras
- What Is Camera Pan? How It Works and Why It Matters
Related Posts