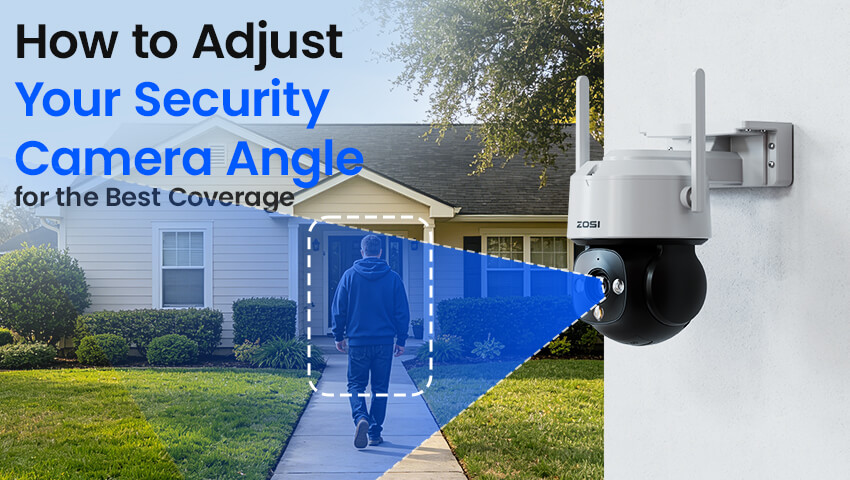
Security cameras play a crucial role in protecting homes, businesses, and outdoor spaces. However, simply installing a camera is not enough to ensure effective surveillance. One of the most important factors that determines how well a security camera performs is its angle. A poorly positioned camera may miss critical activity, create blind spots, or capture unusable footage. On the other hand, a properly adjusted angle can significantly enhance visibility, reduce risks, and maximize the overall effectiveness of your security system.
In this blog, we will explore how to adjust your security camera angle for the best coverage. From understanding field of view to avoiding common mistakes, you will learn practical steps to optimize your setup whether you are securing a home entrance, a driveway, or a commercial property.
Contents
Understand the Purpose of Each Camera
Before adjusting any angle, it is important to define what each camera is supposed to monitor. A common mistake is treating all cameras the same, when in reality each location requires a different perspective.
For example:
· A front door camera should focus on capturing faces clearly.
· A driveway camera should cover a wide horizontal area for vehicle movement.
· An indoor hallway camera should prioritize movement tracking rather than wide coverage.
· A backyard camera should monitor perimeter boundaries and potential entry points.
By clearly identifying the purpose of each camera, you can adjust the angle more precisely and avoid unnecessary blind spots.
Choose the Right Height for Installation
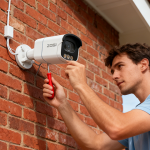
Height plays a major role in determining the quality of coverage. If a camera is installed too low, it becomes vulnerable to tampering and may only capture limited angles. If it is too high, it may miss important facial details.
The ideal installation height is typically:
· 8 to 10 feet for most residential outdoor cameras
· Slightly higher for wide-area commercial surveillance
This height allows the camera to balance between a broad field of view and clear subject detail. It also reduces the risk of vandalism while still capturing useful footage.
Adjust the Tilt and Direction Carefully
Once the camera is mounted, adjusting its tilt and direction is the next critical step. The goal is to eliminate blind spots while maintaining clarity.
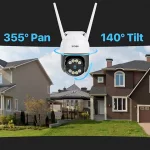
A good rule of thumb is to angle the camera slightly downward, typically between 30 to 45 degrees depending on the location. This ensures that the camera captures both the approach area and the immediate zone of activity.
When adjusting direction:
· Point cameras toward entry points such as doors, gates, or driveways
· Avoid pointing directly into bright light sources like the sun or streetlights
· Ensure overlapping coverage if multiple cameras are installed
Small adjustments can make a big difference in how much useful footage is captured.
Avoid Common Blind Spot Mistakes
Blind spots are one of the biggest weaknesses in any security system. They often occur when cameras are positioned without considering obstructions or movement patterns.
Common mistakes include:
· Mounting cameras behind trees, signs, or structural elements
· Ignoring corners where intruders can hide
· Positioning cameras too close to walls, limiting the field of view
· Failing to account for door swing directions or vehicle angles
To minimize blind spots, walk through the area and simulate possible movement paths. This helps you identify weak points that may not be obvious from a static viewpoint.
Optimize the Field of View (FOV)
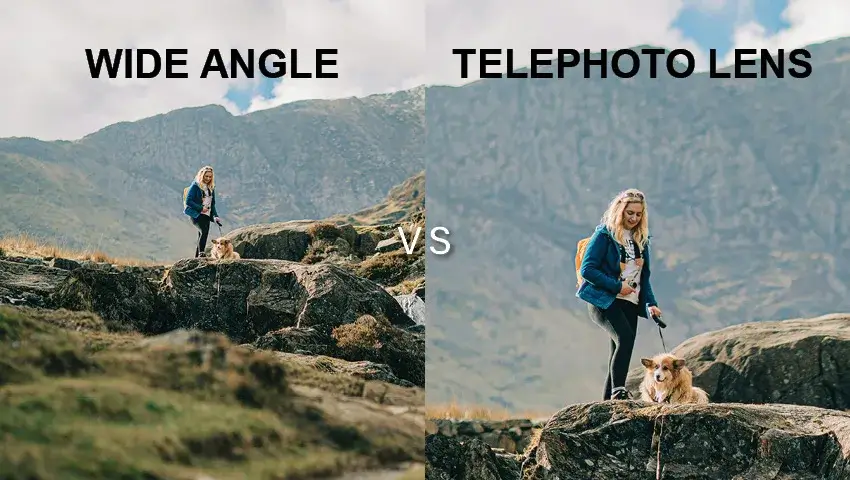
Every security camera has a specific field of view, which determines how wide an area it can capture. Wide-angle cameras cover more space but may reduce detail, while narrow-angle cameras provide clearer images but limited coverage.
To optimize FOV:
· Use wide-angle lenses for open areas like yards or parking lots
· Use narrow or focused angles for entrances and cash registers
· Ensure important subjects remain centered in the frame
· Avoid excessive distortion at the edges of the image
Balancing width and clarity is essential for effective surveillance.
Consider Lighting Conditions
Lighting has a major impact on camera performance. Even the best angle can fail if lighting is poor or inconsistent.
When adjusting your camera:
· Avoid direct backlighting that causes silhouettes
· Use night vision or infrared cameras for low-light areas
· Install motion-activated lighting to improve nighttime clarity
· Reduce glare from reflective surfaces such as windows or metal doors
Proper lighting combined with a good angle ensures clearer and more usable footage.
Test and Fine-Tune the Camera Position
After initial installation and adjustment, testing is essential. Many people install cameras and assume the job is done, but small tweaks can significantly improve coverage.
Steps for testing:
· Walk through the monitored area to check coverage
· Simulate different entry scenarios
· Review recorded footage for blind spots or unclear zones
· Adjust angle slightly and retest until optimized
This trial-and-error process ensures your camera is truly effective in real-world conditions.
Use Multiple Cameras for Full Coverage
In larger spaces, a single camera is rarely enough. Instead of overextending one device, it is better to use multiple cameras with overlapping angles.
Best practices include:
· Position cameras so their fields of view overlap slightly
· Cover all entry and exit points from multiple directions
· Use one camera to capture wide area context and another for detail shots
· Avoid redundant coverage that wastes resources
A well-planned multi-camera setup provides more reliable and complete security.
Conclusion
Adjusting your security camera angle is one of the most important steps in building an effective surveillance system. It is not just about installation, but about thoughtful positioning, careful adjustment, and continuous optimization. By understanding the purpose of each camera, choosing the right height, fine-tuning the tilt, and eliminating blind spots, you can greatly improve the quality of your security coverage.
When combined with proper lighting, field-of-view optimization, and strategic camera placement, your system becomes far more reliable and efficient. Ultimately, a well-adjusted camera angle does more than just record footage—it provides peace of mind and real protection for your property.
More Home Security Tips
- How to Install Garage Security Cameras for Best Coverage
- Where Not to Install Security Cameras
- Best Places to Install Indoor Security Cameras
- Burglar Alarm Installation Guide for Home Security
- How to Install Wireless Security Cameras for Beginners
- Security Camera Installation Costs