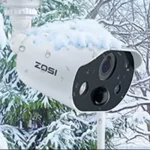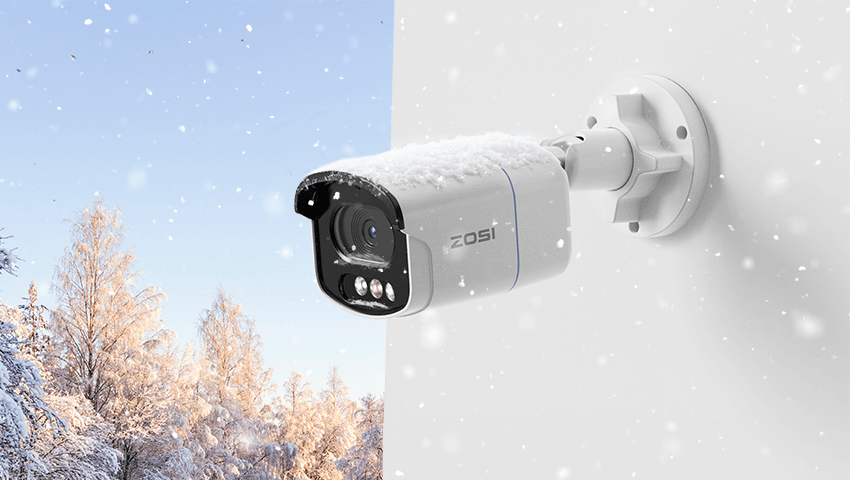
Winter can be one of the most demanding seasons for home security. Snowfall, freezing temperatures, ice buildup, strong winds, and extended hours of darkness all place additional stress on outdoor security cameras. Without proper care, cameras may experience blurred footage, unstable connections, inaccurate motion alerts, or even temporary shutdowns.
The good news is that winter-related issues are largely preventable. With thoughtful installation, routine maintenance, and smart setting adjustments, outdoor cameras can continue providing reliable protection throughout the coldest months of the year.
This guide explains how to care for your outdoor security cameras in winter—step by step.
Contents
1. Strategic Installation: Your First Layer of Winter Protection
Camera placement becomes especially important in winter because environmental exposure increases significantly.
Poor placement can lead to:
• Snow piling up directly on the lens
• Ice forming on the camera housing
• Water dripping onto connectors when snow melts
• Reduced visibility caused by frost or glare
Best winter installation practices:
• Mount cameras under roof eaves, soffits, or awnings whenever possible
• Avoid placing cameras directly beneath roof edges where icicles may form
• Angle cameras slightly downward to minimize snow accumulation
• Keep cameras away from dryer vents or heating exhausts to reduce condensation
A well-chosen installation location reduces maintenance needs and helps cameras deliver consistent performance during storms and temperature swings.
2. Lens Care: Maintaining Clear Footage in Snow, Ice & Fog
In winter, lenses are exposed to more contaminants than any other season. Snowflakes, freezing rain, frost, and fog can all reduce image clarity—especially for high-resolution cameras.
Common winter lens issues include:
• Snow sticking to the lens surface
• Frost forming overnight
• Condensation caused by rapid temperature changes
How to protect and maintain the lens:
• Check lenses after heavy snowfall and gently remove buildup
• Use a dry microfiber cloth to clean lenses—never paper towels or rough fabric
• Avoid using alcohol or chemical cleaners that may damage lens coatings
Keeping the lens clear ensures accurate motion detection and sharp footage, especially at night.
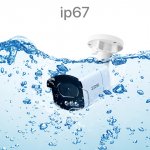
3. Weatherproof Design Matters More in Winter
Not all outdoor cameras are designed for harsh winter environments. Cold weather amplifies weaknesses in materials, seals, and housing construction.
Look for cameras with:
• IP66 or higher weatherproof ratings
• Fully sealed housings to block moisture and dust
• Durable materials that resist cracking in low temperatures
https://www.zositech.com/products/c186-4k-poe-security-camera-system?variant=47437180993778
For example, the ZOSI C186 4K PoE Security Camera System is built with a weather-resistant housing suitable for year-round outdoor use. Its wired PoE design also provides stable power and data transmission during winter storms, helping the system maintain consistent performance in freezing temperatures and snowy conditions.
Choosing well-built, weatherproof cameras significantly reduces the risk of winter-related failures.
4. Protecting Power & Cables in Cold Weather
While cameras often receive the most attention, cables and connectors are just as vulnerable in winter.
Cold temperatures can:
• Make cable insulation stiff and brittle
• Cause connectors to loosen due to thermal expansion and contraction
• Allow moisture to seep into exposed joints
Winter cable protection tips:
• Secure cables tightly along walls or mounts to prevent movement
• Use weatherproof covers for exposed power or Ethernet connections
• Inspect cables periodically for cracks, stiffness, or wear
Protecting cables helps prevent unexpected disconnections—especially during snowstorms or freezing rain.
5. Optimizing Night Vision for Long Winter Nights
Winter brings significantly shorter daylight hours, meaning your cameras rely heavily on night vision.
However, winter conditions can interfere with night footage:
• Snow reflects infrared light, causing overexposure
• Ice and frost create glare
• Fog reduces contrast and detail
How to improve winter night footage:
• Clear reflective snow or ice near the camera’s field of view
• Avoid pointing cameras directly at white walls or snowbanks
• Test night footage periodically and adjust positioning if needed
Proper night vision optimization ensures important details remain visible, even during long winter nights.
6. Adjusting Motion Detection for Winter Conditions
Winter weather introduces more environmental movement than other seasons.
Common causes of false alerts include:
• Falling snow
• Wind-blown branches
• Headlights reflecting off icy surfaces
To reduce unnecessary alerts:
• Lower motion sensitivity during heavy snowfall
• Set customized detection zones around doors and walkways
• Prioritize smart detection features when available
Well-adjusted motion settings help ensure alerts remain meaningful and manageable throughout winter.
7. Weekly Winter Camera Checkups (Highly Recommended)
Winter conditions change quickly, making regular checkups especially important.
A simple weekly inspection can help catch issues early.
What to check:
• Camera online status and recording continuity
• Lens clarity during both daytime and nighttime
• Mounts, brackets, and screws for looseness
• Cable condition and connector seals
These quick checks help prevent minor issues from becoming major problems during extreme weather.
FAQs
1. Will snow or ice damage my outdoor camera?
Snow and ice alone typically won’t damage a weatherproof camera. Problems usually arise when snow melts and refreezes, allowing moisture to enter poorly sealed areas. Regularly clearing snow and ensuring cable connections are weather-sealed helps prevent damage.
2. How often should I check my outdoor cameras during winter?
A quick weekly check is recommended. After heavy snow or storms, it’s also a good idea to inspect the camera, lens, and cables to ensure everything remains secure and clear.
3. Why does my night vision look blurry or washed out in winter?
Snow and ice reflect infrared light, which can cause glare or overexposure at night. Clearing reflective snow near the camera and slightly adjusting the camera angle often improves image quality.
Conclusion
Winter doesn’t have to compromise your home security. With proper installation, regular maintenance, and smart setting adjustments, outdoor cameras can continue protecting your home, family, and property—even in freezing conditions.
Every winter environment is different. Snowfall levels, temperatures, and home layouts all play a role in how cameras perform.
How do you prepare your security cameras for winter?
Have you experienced any winter-related camera issues, or do you have tips that worked well for your home? Share your experience in the comments—we’d love to hear from you.
Related Posts