In recent years, IP cameras have become increasingly popular for home and business surveillance. They offer users a range of benefits, including remote monitoring and easy installation. However, like any technology, IP cameras can sometimes experience issues, including problems with their WiFi connection.
In this article, we’ll explore some common reasons why IP cameras may have trouble connecting to WiFi, and provide some troubleshooting tips to help you fix the issue.
If you do not have a WiFi network or a router available in your location, this post offers solutions for security cameras that do not require internet access.
Contents
Reasons Why Your IP Camera Cannot Connect to Your Router WiFi or to Your Phone
IP cameras are a convenient and reliable option for home and business surveillance. They allow users to remotely monitor their properties from their phones or computers, providing an added level of security and peace of mind. However, there are times when users may encounter issues with their IP cameras, such as problems connecting to their router WiFi or phone. In this article, we’ll explore some common reasons why IP cameras may have trouble connecting and offer potential solutions to fix the issue
1. Incorrect WiFi Password
The most common reason why an IP camera cannot connect to a router WiFi is an incorrect password. Ensure that you are entering the correct WiFi password for your network. If you are uncertain, try logging in to your router’s settings to verify the password.
2. Router WiFi Signal Strength
If the signal strength from the router is weak or low, the IP camera may not be able to connect to the network. Ensure that the camera is within range of the router and there are no obstacles or walls blocking the signal. You can also try adjusting the antenna on the camera to improve signal strength.
3. Router Configuration Issues
If the router is not configured properly, the IP camera may not be able to connect to the network. Ensure that the router is configured to allow IP cameras to connect and that there are no security settings that may be blocking the camera.
4. IP Camera Firmware Updates
An outdated IP camera firmware can cause connection issues with the router or phone. Check the manufacturer’s website for any firmware updates available for your camera and ensure that you have the latest version installed.
5. IP Camera Password Issues
If the IP camera is not using the correct password, it will not be able to connect to the router or phone. Ensure that the camera is using the correct password and that it has not been changed.
6. Firewall or Anti-virus Software
Firewall or anti-virus software on your phone or computer may be blocking the IP camera from connecting to the router. Ensure that any security software is not blocking the camera’s connection and consider temporarily disabling it to determine if it is causing the issue.
Editor’s Note: We have a post covering all the things you need to know about the security camera linked to a phone, including how to make it work, features to consider, specialists’ recommendations, and hot Q&As.
Top 9 Tips to Fix Your IP Camera WiFi Not Working or Not Connecting
1. Check your WiFi network
The first thing to check is your WiFi network. Make sure your router is turned on and that you are within range of the network. It’s also important to ensure that your network is working properly. Check if other devices can connect to the network without any issues. If not, reset your router by unplugging it for a few seconds, then plugging it back in. This can often solve connection issues.
2. Ensure that the wireless IP camera is powered on
Verify that the power source for your wireless IP camera is functional. Confirm that the power adapter is plugged into a working outlet. If you are using a battery-powered wireless IP camera, check if the battery has enough power. Replace or recharge the battery if necessary.
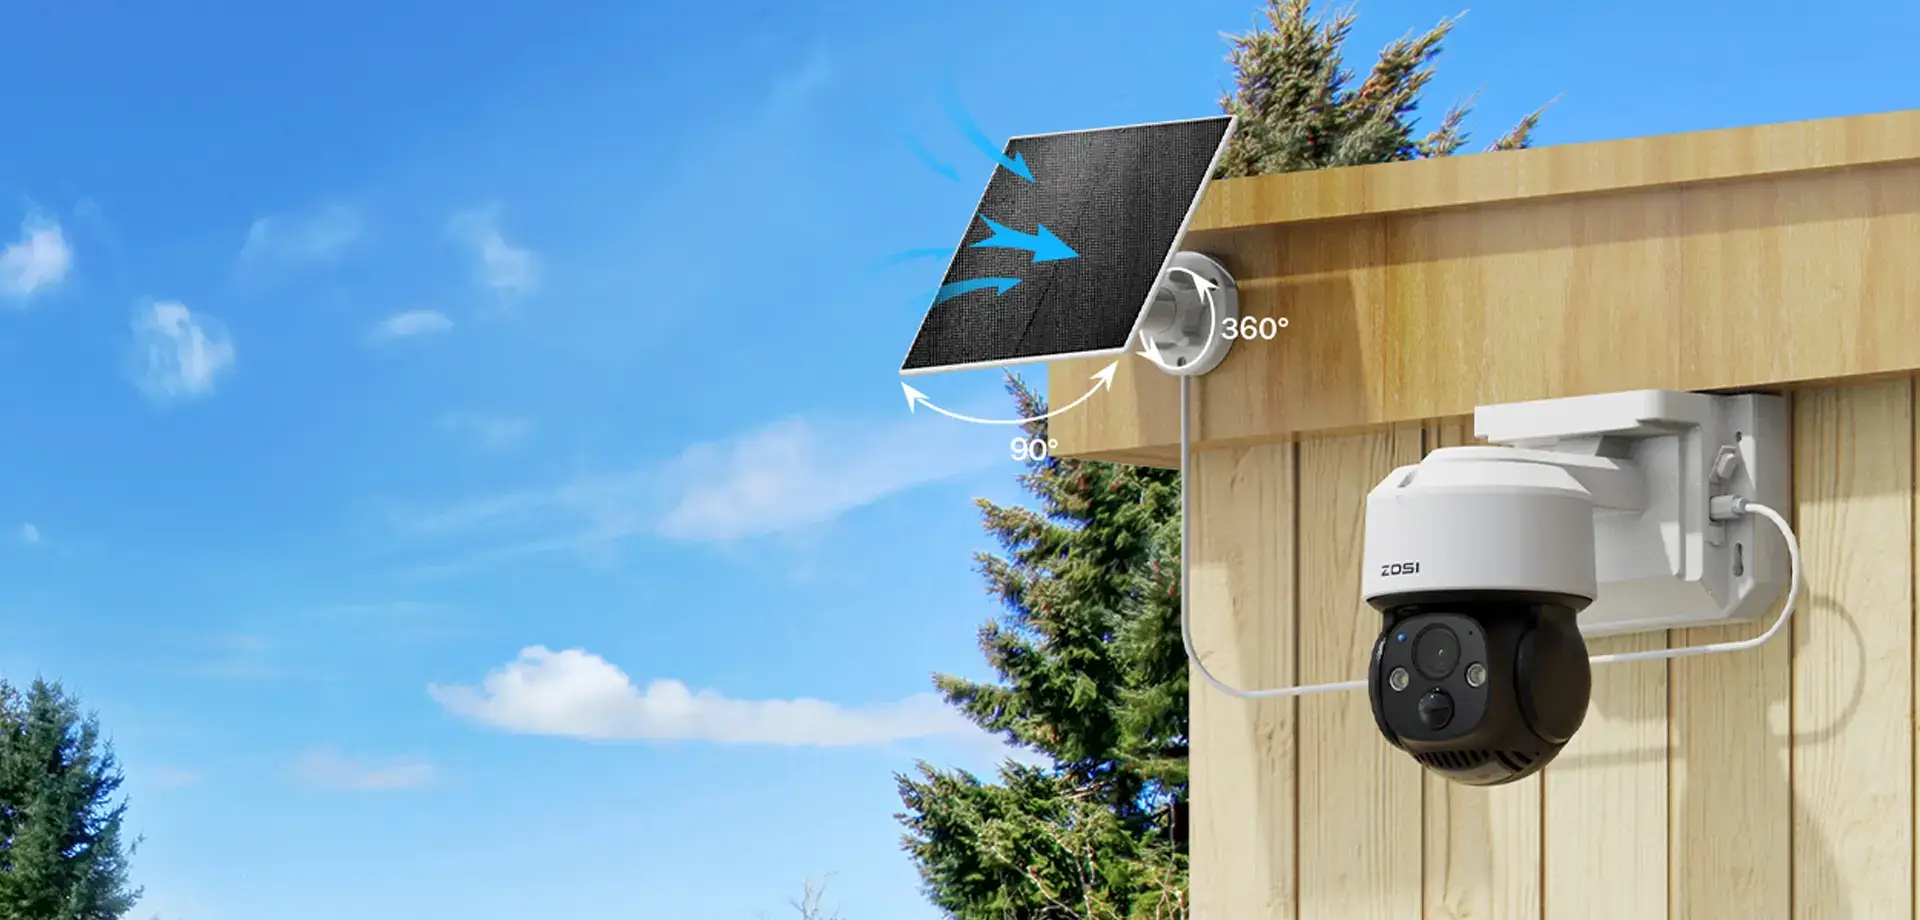
Recommendation: If you prefer a wire-free WiFi security camera with strong connectivity, consider the ZOSI 1NC-306 or 1NC-291. These cameras are powered by rechargeable batteries and can also be solar-powered, eliminating the need for frequent battery changes and concerns about power supply.
Battery Powered Spotlight Security Camera - 1NC-306
- Wifi Connection
- Motion Activated Light & Siren Alarm
- Rechargeable Battery Powered
- AI Human Detection
- Two Way AudioAI Human Detection
- Proactive Sound & Siren Alarm
- 100ft Color Night Vision
4MP Wireless Battery Powered PT Secrity Camera - 1NC-291
- 4MP Super HD
- Long Battery Life
- Customize PIR Alert
- 360° HD View
- Flexible Mounting
- Enhanced Night Vision
3. Check If the IP Camera Has the Correct IP Address
In some cases, when you connect via LAN cable you may get IP address (i.e., 192.168.0.99), and the wireless connection maybe picking up a different IP address (i.e., 192.168.0.55). You won’t see it if you set the camera for DHCP. Or you may suffer IP address conflicts.
Check if the IP address of your camera has issued by using commands. You will get the detailed-how in the fifth solution of the Security Camera Not Working post.
4. Change the Frequency Band of Your Router
A congested and slow wireless network could also be the reason why your IP cameras won’t connect to WiFi or keep going offline.
As the 2.4GHz frequency is widely used by a host of home appliances like phones, tablets and microwave ovens, it is more likely to suffer interference during data transmission due to overcrowding of the channels.
And that’s where the dual-band (2.4 GHz & 5 GHz) WiFi security cameras comes in (require a dual-band router to work).
If you find that the 2.4 GHz band is on a heavy burden, simply switch the frequency band to 5 GHz (5.8 GHz) for higher data transmission rate and thus, reducing the chances of signal loss and interference.
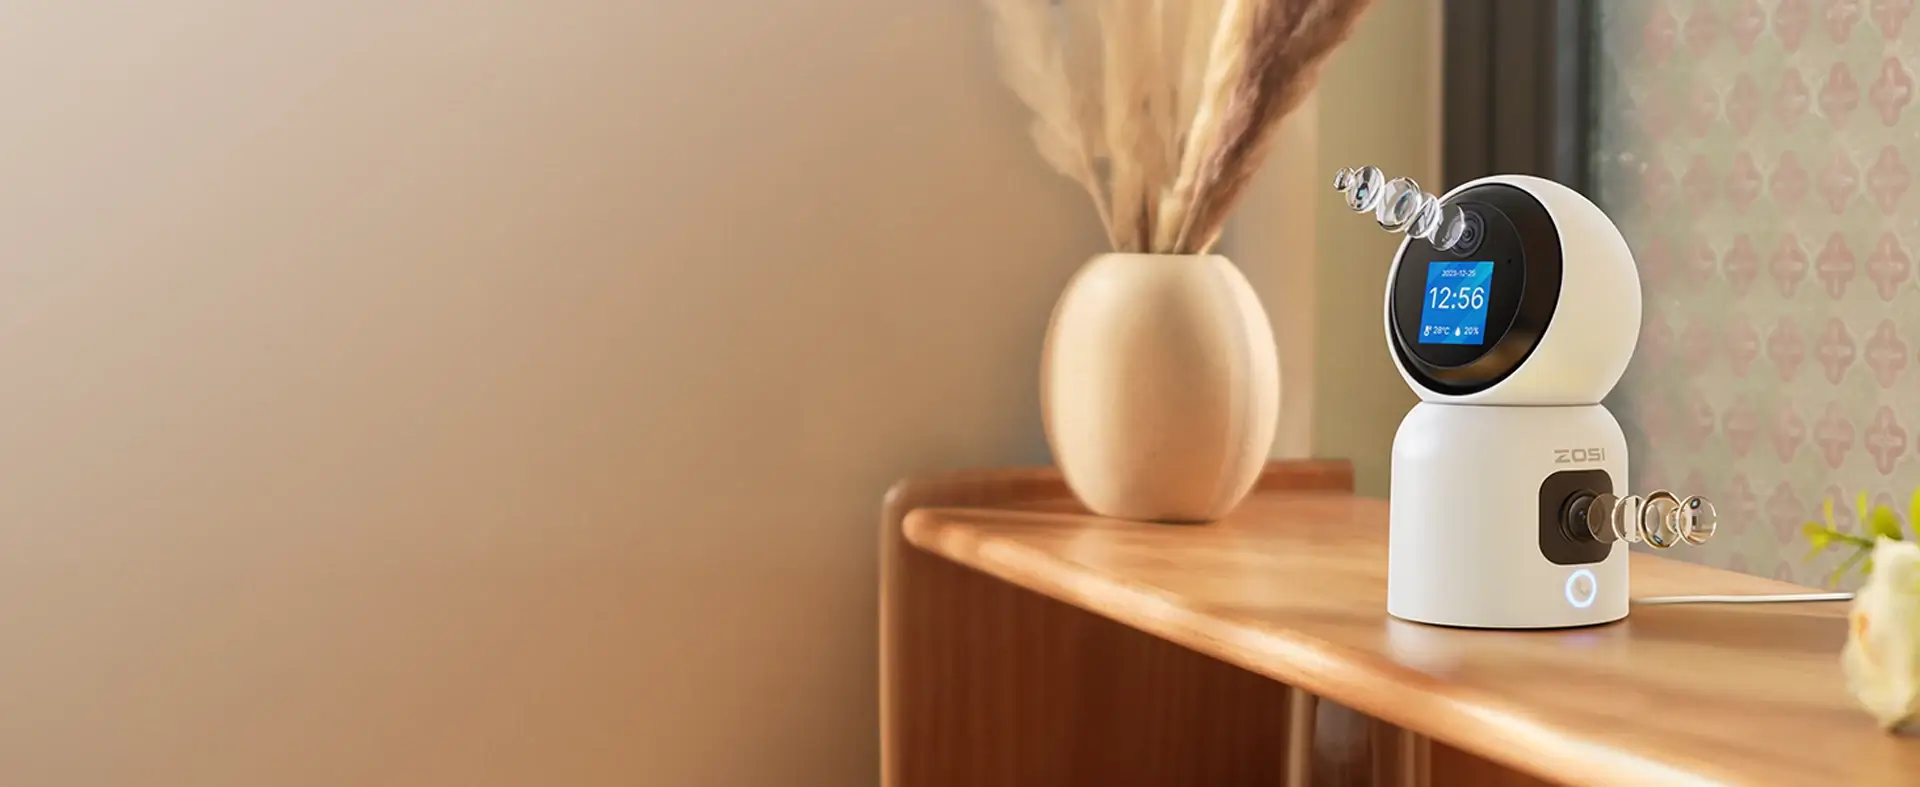
Recommendation: ZOSI 1NC-528M is a dual-band WiFi security camera boasting good connections. With the 2.4 GHz and 5GHz band available, you can get rid of the concerns about your security cameras not connecting or going offline.
6MP Dual Lens WiFi Secrity Camera - 1NC-528M
- Dual Lens (3MP + 3MP)
- Cover Every Angle
- AI Person Detection and Auto Tracking
- Dual Band WiFi Connection
- Smart Motion Alerts Push
- Two-way Audio & Customize Voice Alerts
- SD Card Storage & Cloud Storage
5. Check your IP camera settings
If your WiFi network is working properly, the next step is to check your IP camera settings. Make sure your camera is set to connect to your WiFi network. This can usually be done by accessing the camera’s settings through a web browser on a computer or a mobile app. Make sure that you have entered the correct WiFi network name and password, and that your camera is set to the correct WiFi channel.
6.Check the signal strength
If your camera is within range of your WiFi network, but still can’t connect, it may be that the signal strength is weak. This can be caused by distance or interference from other devices or objects. Move your camera closer to your router, or move your router to a more central location. You can also try adjusting the antenna on your camera to improve the signal strength.
7.Check for firmware updates
Firmware updates can sometimes fix connection issues with IP cameras. Check the manufacturer’s website or the camera’s settings to see if there are any updates available. If so, download and install them.
8.Reset your IP camera
If you’ve tried all of the above and your camera still won’t connect to WiFi, you may need to reset it to its factory settings. This can usually be done by pressing and holding the reset button on the camera for several seconds. Note that resetting your camera will erase all of its settings and configurations, so you’ll need to set it up again from scratch.
Conclusion
In conclusion, if your IP camera is having trouble connecting to WiFi, there are several troubleshooting steps you can take. Check your WiFi network, camera settings, signal strength, and firmware updates. If none of these solutions work, try resetting your camera to its factory settings or contacting customer support for further assistance. With a little bit of patience and persistence, you can get your IP camera connected to your WiFi network and enjoy the benefits of remote monitoring and surveillance.