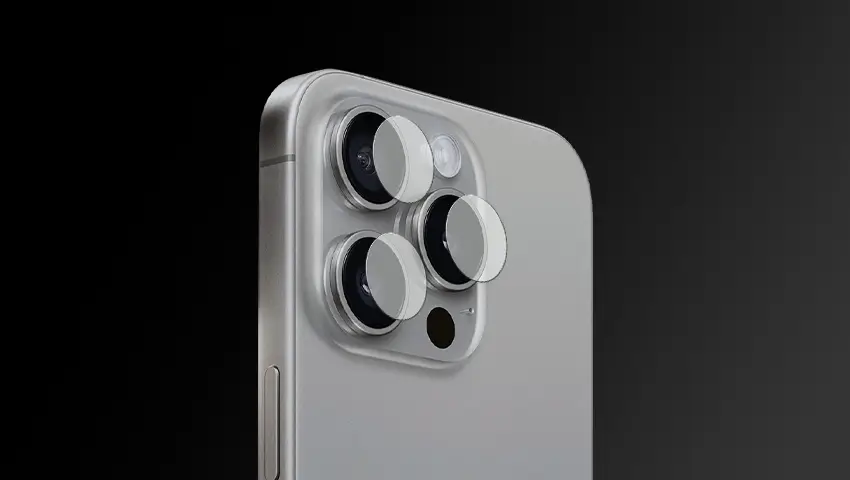
The camera lens protector is a crucial accessory for safeguarding your security camera’s lens from scratches, dust, and other damages. However, there may come a time when you need to remove it—whether it’s to clean the lens, replace the protector, or set up the camera for the first time. Follow this guide for a safe and efficient removal process.
Contents
Types of Phone Camera Lens Protectors
Understanding your lens protector type will help you remove it more effectively:
- Pre-installed Film Protectors: Often come on new devices for initial protection and are meant to be removed before use.
- Plastic Lens Protectors: Lightweight and flexible, commonly used for temporary protection.
- Tempered Glass Protectors: Durable and scratch-resistant but may require more care during removal due to stronger adhesives.
Preparation Before Removal
Before you start, make sure to:
- Power Off the Phone: Turn off your device to avoid accidental touch inputs.
- Gather Tools: Use a microfiber cloth, a plastic pry tool (like a guitar pick or SIM ejector tool), and lens cleaner if needed. Avoid sharp objects.
- Clean Workspace: Work in a dust-free area to prevent particles from sticking to the lens after removal.
Steps to Remove the Lens Protector
Follow these steps carefully for a smooth removal process:
- Locate the Protector’s Edge: Identify the edge of the lens protector where it slightly lifts or overlaps the camera lens.
- Lift the Protector Gently: Use a plastic pry tool, a toothpick, or your fingernail to gently lift one corner of the protector. Avoid pressing directly on the lens.
- Peel Off Slowly: Once a corner is lifted, peel back the protector gradually to prevent adhesive residue from being left behind.
- Clean the Lens (If Needed): Use a microfiber cloth to wipe away any dust or fingerprints. If adhesive residue is present, apply a small amount of isopropyl alcohol to a cloth and gently clean the area.
Tips for Replacing or Reapplying a New Lens Protector
If you’re planning to install a new lens protector, here are some tips:
- Choose the Right Protector: Opt for tempered glass if you want extra durability and scratch resistance.
- Ensure Proper Fit: Confirm the protector matches your phone model for precise coverage.
- Clean the Lens Thoroughly: Ensure the lens is spotless before applying a new protector to avoid bubbles and blurriness.
- Apply Even Pressure: Press evenly when installing the new protector for a bubble-free finish.
How to Choose the Right Replacement Lens Protector
When selecting a new lens protector, consider the following:
- Material: Tempered glass offers the best protection, while plastic protectors are more budget-friendly.
- Thickness: Thin protectors (0.2mm – 0.3mm) offer protection without affecting photo quality.
- Coating: Look for anti-smudge, anti-reflective, and anti-scratch coatings.
- Compatibility: Ensure the protector is designed specifically for your phone model.
Troubleshooting Common Issues
- Protector Stuck Firmly: If the lens protector doesn’t lift easily, try warming the adhesive slightly with a hairdryer on the lowest heat setting for a few seconds.
- Adhesive Residue Left Behind: Gently wipe the lens with a microfiber cloth dampened with isopropyl alcohol.
- Protector Cracked During Removal: Carefully peel off the remaining pieces with a plastic tool.
Conclusion
Removing a phone camera lens protector is a simple process when done carefully. Whether you’re upgrading to a new protector or removing it permanently, following these steps ensures your phone lens remains clean and protected.
Remember, a scratch-free lens means clearer photos—so handle your device with care and keep capturing life’s moments in stunning clarity!

