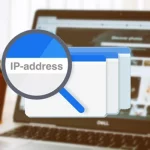
When setting up or managing a security camera, one of the most important—yet often overlooked—details is the camera’s IP address. Think of it as the digital “street address” for your device. Without it, your network wouldn’t know where to send data, and you wouldn’t be able to connect directly to your camera.
Whether you’re trying to access your feed remotely, integrate the camera with a recording system, or troubleshoot a connection problem, knowing your camera’s IP address can save you time and frustration.
In this in-depth guide, we’ll cover everything you need to know: what a camera IP address is, why it matters, how to find it, common issues you may encounter, and best practices for securing your network.
Contents
What Is a Camera IP Address?
An IP address (Internet Protocol address) is a unique identifier assigned to each device on a network. Just like your house has an address that lets the mail carrier deliver letters to the right place, your camera’s IP address tells the network where to send and receive video data.
For security cameras, the IP address is the bridge between your camera and the devices you use to monitor it, such as your smartphone, computer, or NVR (Network Video Recorder).
There are two types of IP addresses you’ll commonly encounter:
• Local IP (Private IP): Used within your home or office network. Example: 192.168.1.25. You can access this only when you’re connected to the same Wi-Fi or LAN.
• Public IP: Assigned by your Internet Service Provider (ISP). Example: 73.41.220.10. This is what the world sees when you connect to the internet and what allows you to view your camera from outside your home network.
Tip: Most of the time, you’ll be dealing with the local IP when setting up your camera, but for remote viewing, the public IP (or a service like DDNS) comes into play.
Why Do You Need to Know Your Camera’s IP Address?
Knowing your security camera’s IP address isn’t just a geeky detail—it has real, practical benefits. Here’s why it matters:
1. Direct Access to the Camera
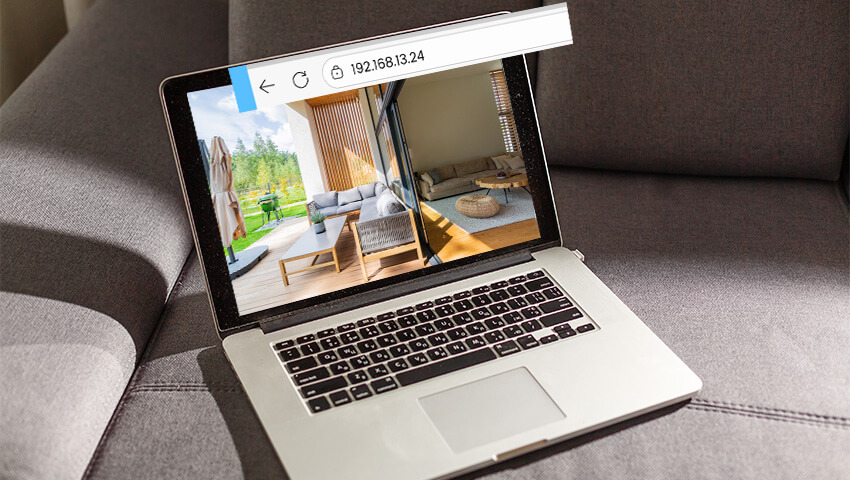
By entering the IP address into a browser or compatible software, you can log into the camera directly. This is useful for configuration, firmware updates, or checking the feed without using an app.
2. Troubleshooting Network Issues
If your camera goes offline, verifying the IP address can help you determine whether the problem is with the network, the device, or the router.
3. Integration with NVRs and Third-Party Apps
Some recording systems and apps require you to input the camera’s IP address to connect. Without it, the devices can’t communicate.
4. Remote Monitoring
For users who want access outside their local network, the IP address is a critical piece in setting up port forwarding or DDNS.
5. Network Security Awareness
Knowing your camera’s IP helps you monitor which devices are connected. If you see duplicate IPs or unexpected addresses, it might indicate a configuration issue—or worse, unauthorized access.
How to Find Your Camera’s IP Address
Fortunately, discovering your camera’s IP address isn’t complicated. Here are the most common methods:
1. Use the Manufacturer’s App or Software
For ZOSI users, this is the easiest method.
• Open the ZOSI Smart App (for mobile) or AVSS Client (for desktop).
• Add your camera to the app if you haven’t already.
• Navigate to the device settings → network information.
• The IP address will be listed there.
This method is fast, beginner-friendly, and doesn’t require logging into your router.
2. Check Your Router’s Device List
Every device connected to your Wi-Fi or LAN shows up on your router’s admin panel.
• Log in to your router (usually by typing 192.168.1.1 or 192.168.0.1 in a browser).
• Look for Connected Devices, DHCP Client List, or LAN Status.
• Find the entry that matches your camera (often listed by manufacturer name, MAC address, or simply “IP Camera”).
• Note down the IP address.
3. Use an IP Scanner Tool
If you can’t access the router directly, an IP scanner is a great alternative.
• Free tools like Advanced IP Scanner, Angry IP Scanner, or mobile apps like Fing will scan your network.
• They list all connected devices with their IP addresses.
• Match the camera by brand, MAC address, or ping response.
4. Use Command Prompt (Advanced Users)
On Windows:
• Press Win + R, type cmd, and hit Enter.
• Type arp -a and press Enter.
• This lists all devices connected to your network. Cross-check by disconnecting and reconnecting your camera to see which address disappears/reappears.
On macOS/Linux:
• Open Terminal and type arp -a.
Static vs. Dynamic IP Addresses
Most routers assign devices a dynamic IP address, which means the address can change when the router restarts or when new devices join the network.
For casual users, this is fine—but for security cameras, it can cause headaches. Imagine setting up your NVR or app with an IP, only for it to change overnight.
Why Set a Static IP?
• Consistency – Your camera will always be reachable at the same address.
• Reliable Integrations – NVRs, third-party apps, and smart home hubs won’t “lose” the camera.
• Simpler Troubleshooting – Easier to know exactly where your camera is on the network.
How to Set a Static IP (General Steps)
1. Log into your camera’s settings (via app, browser, or software).
2. Go to Network Settings.
3. Switch from DHCP (automatic) to Manual/Static.
4. Enter a unique IP address within your router’s range (e.g., if your router is 192.168.1.1, you might choose 192.168.1.220).
5. Save settings and reboot if necessary.
Note: Be careful not to assign the same IP to multiple devices—this causes IP conflicts.
Common Issues and How to Fix Them
Even with the right IP, you might encounter some challenges. Here are common issues and solutions:
1. Camera Not Found on the Network
• Ensure the camera is powered on and connected to the router (wired or Wi-Fi).
• Check if the camera LED indicators show network activity.
• Reset the camera and re-add it to your app.
2. IP Address Conflicts
• If two devices share the same IP, both may stop working.
• Assign each device a unique static IP.
• Reboot the router to refresh DHCP assignments.
3. Remote Access Doesn’t Work
• Verify that the camera is accessible via local IP first.
• Check if port forwarding is enabled on your router for the camera’s IP.
• Consider using DDNS (Dynamic Domain Name System) to map your changing public IP to a consistent hostname.
4. Camera Keeps Changing IP Address
• Switch from DHCP to static IP in the camera settings.
• Alternatively, reserve the IP for your camera in your router’s DHCP settings.
FAQs
Q: Can I view my camera feed just by typing the IP address into a browser?
A: In many cases, yes. Some cameras have a built-in web interface. However, some require specific plugins or apps, and for security reasons, this might be disabled by default.
Q: What if I have multiple cameras?
A: Each camera should have its own unique IP address. If using ZOSI kits, the NVR often manages and assigns addresses automatically.
Q: What happens if my ISP changes my public IP?
A: This is common. To solve it, you can use DDNS services or rely on apps like ZOSI Smart, which handle this in the background.
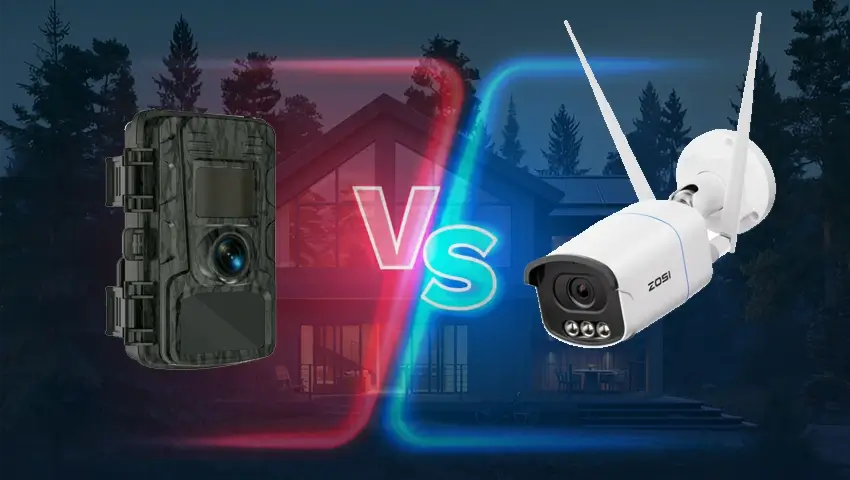
Q: Do wireless cameras still have IP addresses?
A: Absolutely. Whether wired or wireless, any network-connected device uses an IP address.
Conclusion
Your camera’s IP address is the foundation of how it communicates on your network. From setup to troubleshooting, integration, and security, knowing this simple piece of information can make your security system more reliable and easier to manage.
With ZOSI cameras, the process is simplified through our intuitive apps and user-friendly setup, so even if you’re not tech-savvy, you can take control of your home security with confidence.