In the fast-paced world of technology, our reliance on a stable and reliable WiFi connection is stronger than ever. Whether you’re working from home, streaming your favorite show, or just browsing social media, you want to ensure that your WiFi is up to the task. One way to boost your WiFi performance is by switching to the 2.4GHz frequency band. Known for its broader range and superior ability to penetrate walls and other obstacles, 2.4GHz WiFi can be a game-changer for your home network. In this post, we’ll guide you through the simple steps to make the switch to 2.4GHz WiFi and enjoy the benefits it offers.
Contents
What is 2.4GHz WiFi?
WiFi operates on different frequency bands, with 2.4GHz being one of the most common. This band is part of the radio spectrum that is used for wireless communication, and it’s specifically designed for WiFi transmission. The 2.4GHz band provides a balance between speed and range, making it ideal for homes with multiple devices and thick walls that might obstruct the signal.
Why Switch to 2.4GHz?
There are several compelling reasons to switch your WiFi to the 2.4GHz band:
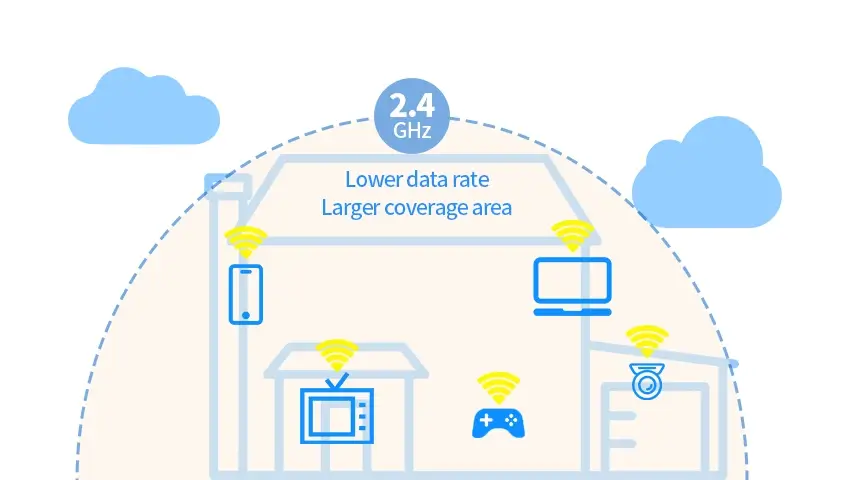
1. Wider Range:
The 2.4GHz band has a longer wavelength, which means it can travel further and penetrate solid objects more effectively than higher frequency bands like 5GHz. This can be particularly beneficial for larger homes or for areas with multiple walls and floors between the router and your devices.
2. Better Compatibility:
Not all devices support the 5GHz band, but virtually all WiFi-enabled devices can connect to the 2.4GHz band. This makes it a more universal choice, ensuring that all your devices can connect without issue.
3. Reduced Interference:
While the 2.4GHz band is more crowded due to its widespread use, it’s also less prone to interference from other electronic devices. This can result in a more stable connection, especially in urban areas with many potential sources of interference.
Quick Guide to Switching:
Switching your WiFi to the 2.4GHz band is a straightforward process. Here’s a step-by-step guide to help you make the switch:
1. Access Your Router’s Settings:
This is typically done by entering your router’s IP address into a web browser. The IP address is often found on the bottom or back of the router and is usually something like 192.168.1.1 or 192.168.0.1.
2. Find the Wireless Mode or Frequency Band Options:
Once you’re in your router’s settings, look for the wireless or WiFi settings. This is where you’ll find options to configure the frequency band.
3. Select 2.4GHz Band and Configure the Network Name (SSID) and Password:
Choose the 2.4GHz band option and make sure to set a secure network name (SSID) and password. This will ensure that only authorized devices can connect to your network.
4. Save Settings and Reboot the Router:
After you’ve made the changes, be sure to save your settings. You’ll then need to reboot your router for the changes to take effect. This usually involves unplugging the router, waiting a few moments, and plugging it back in.
Troubleshooting Tips:
After switching to the 2.4GHz band, you might encounter some common issues:
1. Slow Speeds:
If your WiFi speed seems slower than before, try moving your router to a more central location or further away from electronic devices that could cause interference.
2. Difficulty Connecting:
If some of your devices have trouble connecting, ensure that they are set to automatically connect to the 2.4GHz network. You may need to manually select the 2.4GHz network from the list of available networks.
3. Intermittent Connections:
If you experience intermittent connections, try changing the channel within the 2.4GHz band. There are 11 channels in total, and choosing a less crowded one can help reduce interference.
Conclusion:
Switching your WiFi to the 2.4GHz band is a simple yet effective way to improve your home network’s performance, especially if you have a larger home or older devices that don’t support the 5GHz band. By following the steps outlined in this guide, you can enjoy the benefits of a more reliable and widespread WiFi signal throughout your home. So, go ahead and give it a try!
Have you recently switched your WiFi to the 2.4GHz band? We’d love to hear about your experience. Share your thoughts and any tips you might have in the comments below.
Related Posts