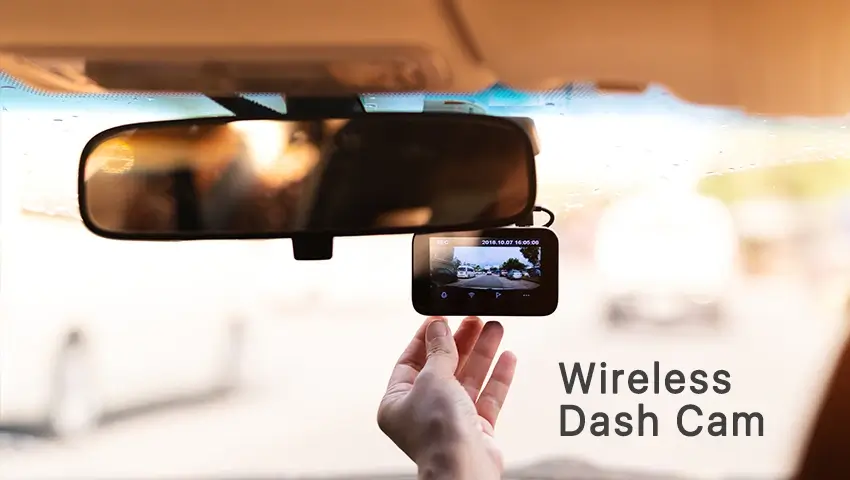
As more drivers prioritize safety on the road, dash cams have become a vital tool. A wireless dash cam offers more convenience than traditional wired models by simplifying installation and allowing remote access to recordings. In this guide, we’ll explore why you should choose a wireless dash cam and how to set it up and troubleshoot common issues.
Contents
Why Choose a Wireless Dash Cam?
A wireless dash cam offers several benefits:
- Easy Installation: Unlike wired versions, wireless dash cams don’t require extensive cable work, making setup quick and easy.
- Remote Access: You can view and download footage on your phone via an app, making it easy to review incidents even when you’re not in your car.
- Cloud Backup: Some wireless dash cams automatically upload videos to the cloud, safeguarding footage in case of theft or damage.
Step-by-Step Guide: Setting Up a Wireless Dash Cam
Step 1: Preparing and Installing the Dash Cam
First, ensure your dash cam is fully charged and download the companion app. After unboxing, mount the dash cam on your windshield, typically below the rear-view mirror. Power it via the cigarette lighter or a hardwiring kit. Adjust the camera angle to capture the road properly.
Step 2: Connecting to Wi-Fi
To access live footage remotely, you need to connect the dash cam to Wi-Fi:
- Open the app and follow the pairing instructions.
- Connect the dash cam to your home or car’s Wi-Fi network.
Step 3: Troubleshooting Setup Issues
If you have trouble connecting to Wi-Fi, try restarting the dash cam or checking the Wi-Fi signal. If the issue persists, reset the camera to factory settings and try again.
How to Change Wi-Fi Networks on Your Dash Cam
To switch your dash cam to a new Wi-Fi network:
- Open the app, go to Wi-Fi settings, and disconnect from the current network.
- Scan for and connect to a new network.
Switching networks is necessary when moving locations or upgrading Wi-Fi systems.
What to Do If Your Dash Cam Won’t Connect to Wi-Fi
Common Causes of Wi-Fi Issues
- Weak Signal: Ensure the camera is within range of your router.
- Compatibility Issues: Verify that the dash cam supports the Wi-Fi standard.
- Firmware Problems: Check for firmware updates.
How to Fix Wi-Fi Issues
Restart the dash cam and router, or reset the dash cam to factory settings. Update the firmware if necessary.
Choosing Between 5GHz and 2.4GHz for Your Dash Cam
When setting up your dash cam, you may need to choose between 5GHz and 2.4GHz networks.
- 5GHz: Faster but with a shorter range, ideal if the dash cam is near the router.
- 2.4GHz: Slower but offers better range, suitable for cars parked further from the Wi-Fi source.
FAQs
1. Can You Use a Dash Cam Without Wi-Fi?
Yes, but without Wi-Fi, you won’t be able to access live footage or automatic cloud backup.
2. How Do You Reset Wi-Fi on a Dash Cam?
In the app’s settings, select the option to reset Wi-Fi and reconnect the dash cam to a new network.
Conclusion
A wireless dash cam offers great benefits like easy installation, remote access, and cloud backups, making it an excellent choice for modern drivers. By following these steps, you’ll have your dash cam ready to go, ensuring your safety and peace of mind on the road.
Related Posts
 Considering Buying a Nanny Cam? Make Informed Choices for Your Family
  Solar Powered Wireless Security Cameras: Pro Selection Guide
  Wi-Fi HaLow Security System: The Future of Wireless Security Solution
  Starlight Cameras: How They Work and Why You Need One
  Security Cameras in the Workplace: Why They’re Essential