Introduction
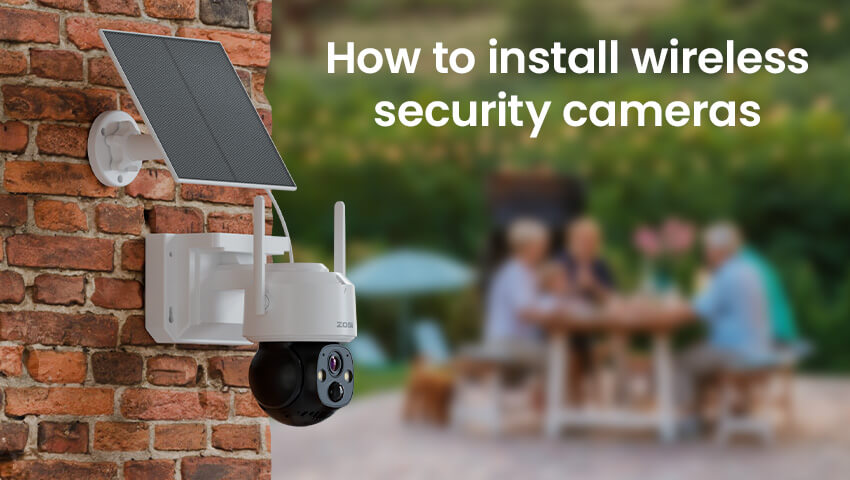
Wireless security cameras have become increasingly popular for homeowners and small business owners who want to monitor their property without the hassle of complex wiring. These cameras offer flexibility, easy installation, and remote monitoring via mobile apps. Whether you are looking to keep an eye on your front door, backyard, or indoor spaces, learning how to install wireless security cameras can save you money and provide peace of mind.
In this guide, we’ll cover everything beginners need to know—from preparation to installation, optimization tips, common mistakes, and when professional help might be necessary. By the end, you’ll be ready to set up your wireless security camera system with confidence.
Contents
What You Need Before Installing a Wireless Security Camera
Before diving into installation, make sure you have the following essentials:
1. Stable WiFi Network: Most wireless security cameras rely on a strong WiFi connection, usually 2.4GHz or 5GHz. Test your network coverage in the areas you plan to install cameras.
2.Tools and Equipment: Depending on your camera type, you may need a screwdriver, drill, screws, anchors, or a magnetic mount. Some cameras come with all necessary accessories.
3.Camera Power Source: Wireless cameras may be battery-powered, plug-in, or solar. Check if your camera requires charging or continuous power.
4.Mobile Device: You’ll need a smartphone or tablet to install the camera app, connect your camera to WiFi, and manage settings.
5.Optional Storage: Some cameras store footage on a microSD card, while others rely on cloud storage. Decide on your preferred storage method before setup.
Being prepared ensures a smooth installation process and minimizes troubleshooting later.
Step-by-Step Guide: How to Install Wireless Security Cameras
1. Choose the Right Location
Choosing the correct location is critical for maximizing coverage and minimizing blind spots. Consider these tips:
Indoor vs. Outdoor: Outdoor cameras should be weatherproof and mounted in sheltered areas if possible. Indoor cameras can be placed in living rooms, entryways, or nurseries.
Height and Angle: Mount cameras around 7–10 feet high for optimal coverage. Avoid pointing directly at bright lights or windows to prevent glare.
Coverage Area: Ensure the camera covers high-traffic areas and potential entry points like doors and windows.
2. Mount the Camera
Once you’ve chosen the location, it’s time to mount your camera:
Wall or Ceiling Mount: Use screws and anchors to securely attach your camera bracket.
Magnetic Mount or Adhesive Pads: Some cameras allow for easy attachment to metal surfaces or flat areas without drilling.
Check Stability: Make sure the camera does not wobble, as movement can affect video quality.
3. Connect to Power
Depending on your camera type:
Plug-in Cameras: Connect to a nearby electrical outlet. Use extension cords safely if needed.
Battery-Powered Cameras: Fully charge the battery before installation and consider easy access for future recharging.
Solar-Powered Cameras: Ensure the solar panel receives sufficient sunlight to maintain continuous operation.
4. Connect to WiFi and Mobile App
Download the manufacturer’s mobile app and create an account.
Follow the in-app instructions to connect the camera to your WiFi network. Most cameras support both 2.4GHz and 5GHz, but 2.4GHz often provides better range.
Test the live feed to ensure connectivity and proper camera angle.
5. Adjust Settings & Test the Camera
After connecting:
Motion Detection: Enable alerts and adjust sensitivity to avoid false notifications.
Night Vision: Test night vision settings to ensure coverage in low-light conditions.
Storage Setup: Choose cloud or local storage, and check recording schedules.
Final Testing: Walk through the camera’s field of view to verify coverage and image clarity.
Tips for Optimizing Wireless Security Camera Performance
To ensure your camera performs at its best:
Keep the Lens Clean: Dust, fingerprints, and debris can reduce image quality.
Update Firmware Regularly: Manufacturers release updates to improve performance and security.
Optimize WiFi Signal: Use WiFi extenders if your camera is far from the router.
Adjust Notification Settings: Customize alerts to avoid spam while ensuring security notifications are received promptly.
Common Installation Mistakes to Avoid
Even small mistakes can compromise your camera’s performance:
Incorrect Placement: Too low, facing bright light, or in blind spots.
Unstable Mounting: Cameras that wobble or fall can lead to blurry footage.
Ignoring WiFi Stability: Weak signals cause lagging or dropped video streams.
Poor Security Practices: Default passwords or unsecured WiFi can make cameras vulnerable.
Avoiding these pitfalls ensures reliable monitoring and protection.
When to Consider Professional Installation
While DIY installation is straightforward, certain situations may require professional help:
Commercial or Large Properties: Multiple cameras with advanced setups (PoE, NVR systems).
Complex Network Integration: Combining cameras with smart home systems or security monitoring services.
Technical Limitations: If you’re uncomfortable with drilling, wiring, or app configuration, a professional can ensure optimal setup.
Professional installation can save time and provide peace of mind for complex systems.
FAQ
Q1: How long does it take to install a wireless security camera?
A: Most cameras can be installed within 30–60 minutes, depending on the number of cameras and complexity of the setup.
Q2: Do I need WiFi for all wireless security cameras?
A: Yes, most wireless cameras require WiFi for live streaming, app connectivity, and cloud storage.
Q3: Can I install wireless cameras without drilling?
A: Many cameras offer magnetic mounts or adhesive pads for drill-free installation, but screws provide more stability.
Q4: What’s the best height to install a wireless camera?
A: Typically, 7–10 feet high to capture wide coverage while minimizing tampering.
Conclusion
Installing wireless security cameras doesn’t have to be complicated. By preparing the right tools, choosing optimal locations, and following proper installation steps, beginners can set up a reliable surveillance system in their home or small business. Remember to test your cameras, optimize performance, and avoid common mistakes for maximum security.
With this ultimate guide, you now have the knowledge to confidently install and manage your wireless security cameras—ensuring your property is safe, monitored, and secure.