Contents
Introduction
Security cameras are an essential part of keeping homes and businesses safe. They help monitor activities, deter intruders, and provide peace of mind. But even the most advanced camera won’t do its job well if its lens is dirty. A smudged, dusty, or foggy lens can lead to blurry footage, reduced night vision, and even false alerts.
Cleaning your security camera lens regularly is a simple but crucial maintenance step. In this guide, we’ll explain why lens cleaning matters, how to do it safely, the tools you’ll need, and tips to prevent dirt buildup. By the end, you’ll have all the knowledge needed to keep your security cameras capturing clear, crisp video.
Why a Clean Security Camera Lens Matters
Even a small amount of dust or dirt on a camera lens can make a big difference in the quality of your footage. Here’s why:
Clarity: Dirt or smudges can blur images and make it hard to identify faces, license plates, or details.
Night Vision Performance: Infrared night vision relies on clean lenses; dust or watermarks can scatter light and reduce visibility in low-light conditions.
Reduced False Alarms: Motion sensors and AI-based detection can trigger false alerts if dirt or reflections affect the camera’s view.
Prolonged Camera Life: Proper maintenance reduces wear on the lens and housing, extending the life of your equipment.
Regular lens cleaning ensures your cameras continue to perform optimally, whether they’re monitoring an indoor office or an outdoor driveway.
Signs Your Security Camera Lens Needs Cleaning
How do you know it’s time to clean your camera lens? Here are the most common signs:
1.Blurry or Foggy Footage
If the video quality suddenly looks fuzzy, even in good lighting, dust or grime may be the culprit.
2.Reduced Night Vision Clarity
Infrared night vision appears dim, hazy, or scattered when the lens is dirty.
3.Light Flares or Halos
Sunlight or artificial lights create streaks or flares in your footage.
4.Visible Dust or Water Spots
Check the lens physically; any dust, fingerprints, or watermarks indicate it’s time for a cleaning session.
What You Should NOT Use to Clean Your Lens
Before cleaning, it’s important to avoid common mistakes that can damage your lens:
Harsh Chemicals: Avoid ammonia-based cleaners, alcohol, or strong detergents—they can strip protective coatings.
Rough Fabrics: Paper towels, tissues, or rough cloth can scratch the lens.
Spraying Liquids Directly: Never spray water or cleaning solution directly onto the camera; liquid can seep inside and damage electronics.
Excessive Pressure: Pressing too hard can scratch the lens or move the internal alignment.
Using the wrong method may permanently damage the lens or reduce image quality.
Tools You’ll Need for Safe Lens Cleaning
Having the right tools makes the cleaning process safer and more effective. Here’s what you need:
Microfiber Cloth: Soft and non-abrasive; ideal for wiping lenses.
Lens Cleaning Solution / Distilled Water: Gentle cleaners that won’t damage coatings.
Air Blower or Soft Brush: Removes dust without touching the lens.
Cotton Swabs: For edges and small crevices; use lightly.
Optional: Anti-Fog or Protective Coating: Helps reduce dust and moisture accumulation.
Step-by-Step Guide to Cleaning a Security Camera Lens
1.Power Off the Device
Always turn off the camera before cleaning to avoid electrical issues or accidental damage.
2.Remove Dust First
Use an air blower or soft brush to gently remove loose dust and debris from the lens surface.
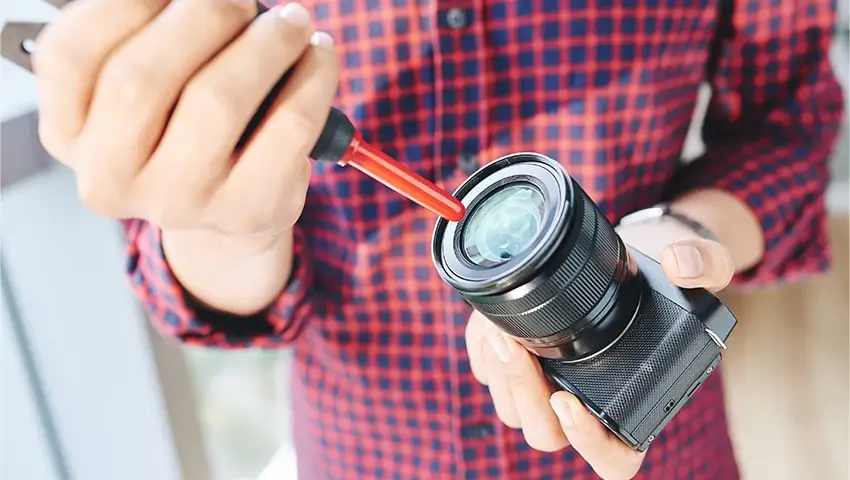
3.Apply Cleaner to Cloth
Never pour cleaner directly on the lens. Instead, dampen a microfiber cloth with a few drops of lens solution or distilled water.
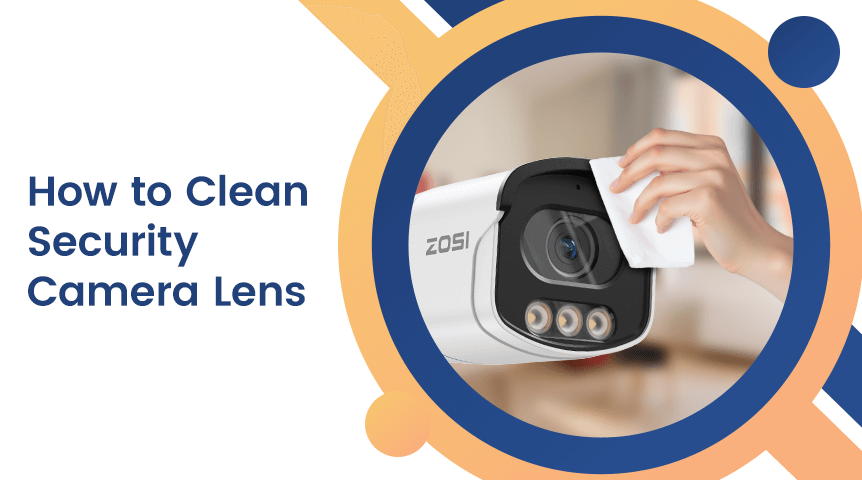
4.Gently Wipe the Lens
Use circular motions from the center outward. Avoid pressing too hard.
5.Clean the Edges Carefully
Use a dry cotton swab to remove dirt from lens edges or housing corners.
6.Allow to Dry
Wait a few minutes to ensure the lens is completely dry before powering the camera back on.
By following these steps, you can safely clean your camera without damaging the lens or reducing image quality.
Cleaning Different Types of Security Cameras
Not all cameras are the same. Cleaning methods vary slightly depending on the type:
Indoor Cameras
Usually accumulate fingerprints, dust, or smudges.
Easier to reach and clean, no weather concerns.
Outdoor Cameras
Exposed to rain, dust, pollen, and bird droppings.
Check for water spots or mud, especially after storms.
Dome Cameras
The dome housing can attract static dust.
Clean the dome surface with microfiber to avoid distortion.
Bullet / Turret Cameras
Susceptible to wind-blown debris, pollen, and hard water stains.
Gentle cleaning is key to prevent scratches on the lens or housing.
How to Prevent Lens Dirt and Reduce Maintenance
Cleaning is easier when you minimize dirt accumulation. Here are some preventative measures:
Use Weather Hoods: Reduces water, dust, and direct sunlight on the lens.
Install Spider Repellents: Outdoor cameras often collect webs; repellent can help.
Avoid Direct Light Sources: Position cameras away from glare-causing lights.
Apply Hydrophobic or Anti-Fog Coatings: Helps repel water and dust.
Routine Cleaning Schedule: Monthly for outdoor cameras, quarterly for indoor cameras.
Special Case: Infrared Night Vision Lenses
Night vision requires clean lenses to function properly. Dirt can scatter IR light and reduce visibility.
Focus on:
Cleaning IR emitters gently
Removing webs or insects near the lens
Ensuring clear view for effective night-time surveillance
Cleaning Hard-to-Reach Outdoor Cameras
Outdoor cameras can be difficult to access safely. Tips include:
— Use extension tools like telescopic brushes or air blowers
— Ensure ladders are stable and follow safety precautions
— Consider waterproof housing that reduces the need for frequent cleaning
Multi-Camera Systems Maintenance Tips
For multi-camera setups:
— Create a cleaning checklist for each cameraInspect once a month for dust, water spots, or insects
Document lens condition and cleaning dates to maintain consistent footage quality