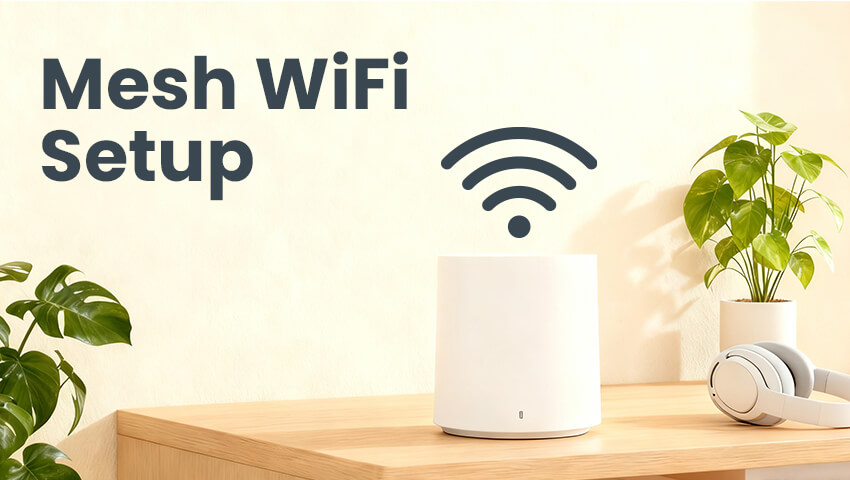
In today’s connected world, smart homes are no longer a luxury—they are a necessity. Security is a top priority for homeowners, and surveillance cameras play a vital role in keeping homes and businesses safe. However, one common challenge many users face is ensuring their cameras have a strong and reliable internet connection. Traditional WiFi routers often struggle to provide consistent coverage in large homes, multi-story buildings, or areas with thick walls. This is where mesh WiFi systems come in. A mesh WiFi network can extend seamless connectivity throughout your property, ensuring your surveillance cameras remain online and function smoothly. In this article, we’ll explore the importance of mesh WiFi for security cameras, how to set it up, and tips to optimize your network for the best performance.
Contents
Why Mesh WiFi Matters for Surveillance Cameras
Surveillance cameras, whether indoor or outdoor, rely heavily on a stable internet connection to stream live footage, send notifications, and store recordings in the cloud. Poor WiFi coverage can lead to:
– Dropped video feeds: Missing critical events when your camera loses connection.
– Delayed notifications: Late alerts can compromise timely responses.
– Interrupted recording: Loss of data or gaps in footage.
– Reduced video quality: Cameras may automatically lower resolution to maintain connectivity.
Traditional single-router WiFi networks often struggle to cover large areas, particularly in homes with multiple floors or concrete walls. Mesh WiFi networks, in contrast, use multiple nodes or satellites to create a unified network, eliminating dead zones and maintaining strong signal strength throughout your property. This makes them ideal for surveillance camera setups, as each camera can consistently connect to the nearest node without interruption.
Understanding Mesh WiFi
Before diving into the setup, it’s essential to understand how mesh WiFi works. Unlike a conventional router, which relies on a single access point, a mesh network consists of a main router and multiple satellite nodes placed around your home. Key features include:
1. Seamless Roaming: Devices automatically connect to the node with the strongest signal, ensuring consistent coverage.
2. Single Network Name (SSID): All nodes share the same network name, so your cameras and other devices don’t need to switch networks.
3. Self-Healing: If one node fails, the system automatically reroutes traffic through another node.
4. Scalability: Add more nodes to extend coverage to larger areas without replacing the existing system.
For surveillance cameras, these features mean fewer blind spots, more reliable cloud uploads, and smoother remote viewing on your smartphone or computer.
Step-by-Step Mesh WiFi Setup for Surveillance Cameras
Setting up a mesh WiFi system for your security cameras involves careful planning and placement. Here’s a step-by-step guide:
1. Choose the Right Mesh System
Not all mesh WiFi systems are created equal. When selecting a system, consider:
– WiFi Standard: Look for WiFi 6 (802.11ax) for higher speed and better device handling.
– Coverage Area: Ensure the system can cover the square footage of your home or property.
– Device Capacity: Some systems support more connected devices than others—important if you have multiple cameras.
– Compatibility: Make sure the system works with your existing modem and camera models.
2. Plan Node Placement
Proper placement of mesh nodes is crucial for optimal performance:
– Central Node: Place the main router near your modem, ideally in a central location.
– Satellite Nodes: Position nodes within line-of-sight of each other whenever possible, avoiding obstacles like thick walls or metal doors.
– Camera Proximity: Ensure nodes are placed close enough to areas where cameras will be installed, especially for outdoor cameras.
3. Connect the Main Node
Start by connecting the primary mesh router to your modem via an Ethernet cable. Power it on and follow the manufacturer’s instructions to initialize the network using a mobile app or web interface. Set your network name (SSID) and password.
4. Add Satellite Nodes
Once the main node is set up, add satellite nodes:
– Power on the node and follow the setup instructions in your mesh system’s app.
– Place the node halfway between the main router and the area with weak signal.
– Ensure nodes are within a reasonable range—too far can weaken the signal.
5. Connect Your Cameras
After the network is live, connect your surveillance cameras:
– Open your camera app and select the WiFi network.
– Enter the password and complete the setup.
– Test the connection by streaming live footage to ensure stability.
6. Optimize Your Network
To maximize performance:
– Use Ethernet backhaul if possible, connecting nodes via Ethernet for faster and more stable connections.
– Assign static IP addresses to cameras to avoid connectivity issues.
– Regularly update firmware for both the mesh system and cameras.
– Enable QoS (Quality of Service) if available, prioritizing camera traffic over other devices.
Tips for Improving Mesh WiFi Performance
Even with a mesh system, there are a few strategies to enhance WiFi performance for surveillance cameras:
1. Minimize Interference: Keep nodes away from microwaves, cordless phones, and thick metal objects.
2. Use Dual-Band or Tri-Band: Tri-band systems dedicate a separate band for node-to-node communication, leaving more bandwidth for cameras.
3. Position Outdoor Cameras Strategically: Ensure outdoor cameras are within range of the nearest node, even if that requires adding an additional node outside or near a window.
4. Monitor Network Traffic: Check your network regularly to ensure cameras have sufficient bandwidth.
5. Segment Your Network: For security, consider placing cameras on a separate VLAN or guest network to prevent potential hacking of your main network.
Common Challenges and Troubleshooting
Even with a mesh WiFi system, some issues may arise:
– Weak signal in corners or basements: Consider adding extra nodes or WiFi extenders.
– Camera disconnections: Verify firmware is updated and WiFi settings are correct.
– Slow cloud uploads: Reduce the number of high-bandwidth devices on the network or enable motion-only recording for cameras.
– Interference from neighboring networks: Change WiFi channels to avoid congestion.
Proactively monitoring your system and adjusting node placement can prevent most of these issues.
Conclusion
A reliable internet connection is critical for surveillance cameras to function effectively. Traditional routers may leave dead zones and compromise your security, but mesh WiFi systems offer seamless coverage throughout your property. By carefully selecting a system, strategically placing nodes, and optimizing your network, you can ensure your cameras operate without interruption, providing peace of mind and enhanced security. Whether you are securing a small home or a large estate, a properly configured mesh WiFi network can make the difference between spotty feeds and a fully connected, smart security system. Investing in a mesh setup not only benefits your cameras but also enhances the overall performance of your smart home devices.
Related Posts
 WiFi Extender vs. Mesh WiFi: Which Is Best for Your Home?
  Best Low Light Security Cameras: How to Choose the Right Surveillance Camera for Nighttime Protection Introduction
  what is 4k resolution? Introduction
  How to Set Up and Record Security Cameras Without a DVR/NVR Introduction
  Laws on Outdoor Surveillance Cameras for Home: A Complete Guide