For optimal video recording on security cameras, it’s recommended to use a Network Video Recorder (NVR) or a Digital Video Recorder (DVR).
Most NVRs and DVRs come with a built-in HDD with a large capacity, ranging from 1TB to 3TB or more. Additionally, you can extend storage capacity by incorporating an external hard disk drive via e-SATA on the NVR/DVR.
By recording security camera footage through an NVR or DVR, you are effectively recording the video directly to the hard disk drive, which can impact how long you can record video and whether or not a 24/7 video recording is feasible.
For instance, Zosi 8SN-2258A, a PoE security camera NVR system, can record both video and audio, ensuring thorough surveillance and making it an ideal choice for users seeking a reliable 24/7 video recording system.
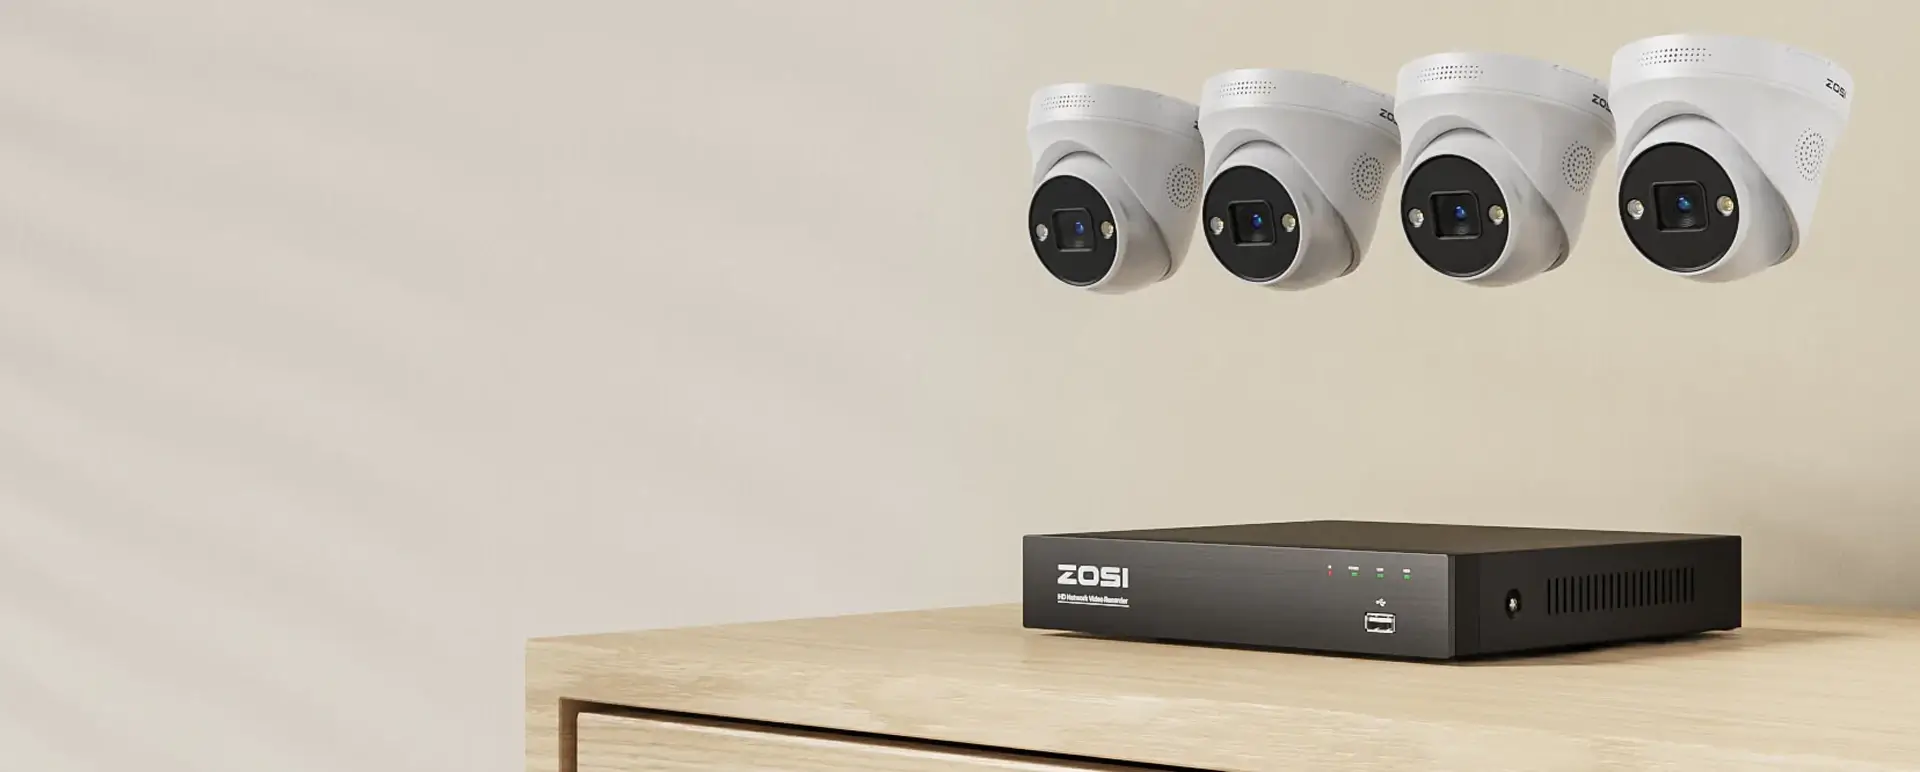
C225 - 4K POE Surveillance Cameras Security Monitor Systems
- 4K Ultra HD
- Smart Person/Vehicle Detection
- Customize Detection Zone
- Starlight Night Vision
- 24/7 Video & Audio Recording
- Access Remotely & Flexibly
- Two Way Audio
Recording security cameras can be carried out without disrupting your network because these systems have their own proprietary networks, which means video recording won’t burden your bandwidths. Security camera systems only access the internet when remote viewing on your mobile phone is necessary, or you want to live stream via your computer.
Selecting a suitable NVR or DVR is crucial when recording security cameras. It’s important to note that several standalone NVRs and DVRs only function well with cameras from the same brand, and other brands’ products may have compatibility issues.
Therefore, it’s recommended to purchase cameras and an NVR/DVR from the same brand, or you can opt for a complete set.
Steps for Continuous Recording Security Camera Video to NVR/DVR
Recording security camera footage to an NVR/DVR HDD is a straightforward process. As an example, let’s take Zosi cameras and NVR.
- Connect the cameras to the NVR recorder.
- Ensure that both the cameras and the NVR have a consistent power supply and are connected to each other for communication.
- Connect the NVR to either a monitor or HD TV. The monitor will display the setting screen.
- Navigate to the video recording settings options.
- Configure the recording setup you prefer, such as 24/7 recording or motion detection recording that begins only when the camera detects movement.
Once these steps have been completed, your surveillance cameras are now recording on the NVR, and you can monitor what’s happening later if you are not in the vicinity. The recorded video can also be exported to an SD card and transferred to a storage device.
If remote viewing is required, such as live streaming on your mobile phone while you’re away from home, connect the NVR to your network by linking it to the router.
This connection permits remote viewing of surveillance cameras in real-time, allowing you to monitor your home or business from anywhere, at any time.
Read also: How to Set Up Security Camera for 24 Hour Recording