
When installing a security camera, it’s essential to locate a suitable, sturdy surface for mounting. Camera mounts typically feature screws for attachment, and most camera kits come with a drill template to help you place the screws accurately.
- Start by using the mounting template as a guide and drilling pilot holes at the indicated locations for the mounting screws.
- Install any provided mounting pins by gently tapping them with a hammer into the pilot holes.
- Once completed, screw the camera mount securely into the wall to ensure that the camera remains stable.
Ensuring that your security camera is appropriately mounted is essential to obtaining optimal and clear footage. By following these steps and carefully drilling pilot holes and attaching the camera mount securely, you can feel confident that your security camera is correctly installed and providing you the protection and security you require.
Here comes a CCTV camera installation video, providing step-by-step instructions on mounting a dome security IP camera.
If you are installing a PTZ IP camera, another key step is the vertical bracket installation. Get to know more about how to install the vertical bracket of C296, the most powerful high-speed PTZ IP camera.

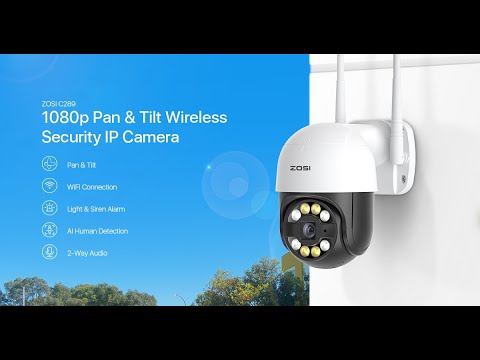
C296 - Pan Tilt IP Security Cameras
- 4K Ultra HD/5MP Super HD
- Starlight Color Night Vision
- Pan & Tilt
- PoE/WiFi Connection
- Light & Siren Alarm
- Upgraded AI-Powered Detection
- 2-Way Audio
Wireless IP camera connection diagram:


Read also: How to Install Home Security Camera Easy and Efficient