Contents
Introduction
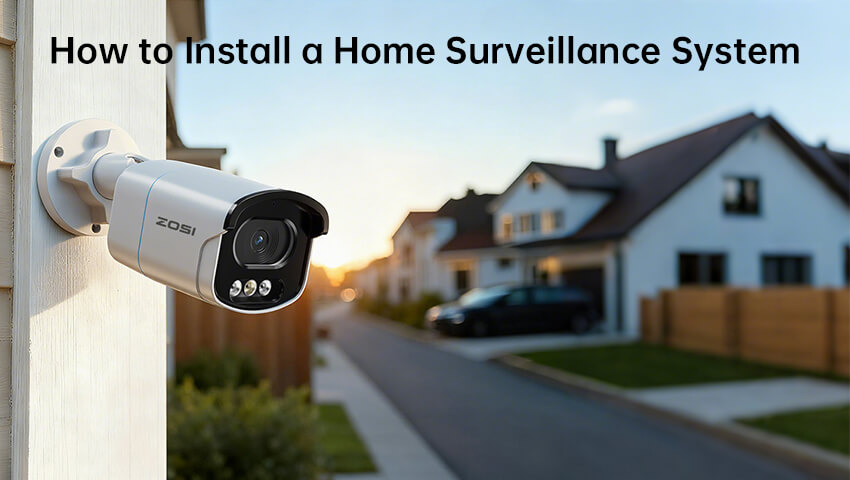
Installing a home surveillance system is one of the most effective ways to enhance your family’s safety and protect your property. With modern smart cameras and WiFi technology, the process has become easier than ever—even for beginners. In this guide, we’ll walk you through the step-by-step process to install your home surveillance system.
1. Choose the Right Surveillance System
Before installation, decide what kind of surveillance system fits your needs. There are two main types:
– Wired systems : Provide stable connections and are ideal for large homes, but require more complicated setup and cable routing.
– Wireless systems : Easier to install and flexible to position, perfect for apartments or small homes.
You should also consider features like night vision, motion detection, mobile app control, and two-way audio. Brands like ZOSI offer affordable options with both wired and wireless versions.
2. Plan Camera Locations
Good placement ensures you capture the most important areas. Common spots include:
– Front and back doors
– Garage or driveway
– Living room or main hallway
– Backyard or side gates
Avoid pointing cameras directly at neighbors’ windows or bright lights to prevent privacy issues and glare.
3. Prepare the Tools and Equipment
Typical tools include a power drill, screws, screwdriver, ladder, and your camera kit. For wired systems, you’ll also need Ethernet cables or coaxial cables depending on your camera type.
Before drilling, test the camera connection by plugging it in temporarily. This ensures that your WiFi signal or wiring works properly in that location.
4. Mount the Cameras
Mark the screw positions and drill holes according to your camera’s base. Secure the mounting bracket, attach the camera, and adjust its angle to cover your desired field of view. Make sure the camera is stable and protected from rain or direct sunlight.
5. Connect and Power Up
– For wired systems: Connect each camera cable to the DVR/NVR and power supply. Keep cables organized and avoid sharp bends.
– For wireless systems: Plug the cameras into power and pair them with your NVR or app using WiFi. Follow the manufacturer’s setup guide for pairing steps.
6. Configure Your System
Once all cameras are connected, power on the NVR or open the camera app. Set up your preferences:
– Create a secure password.
– Adjust motion detection sensitivity.
– Enable notifications for real-time alerts.
– Schedule recording times or enable 24/7 continuous recording.
You can view live feeds on your phone, tablet, or computer anytime.
7. Test and Optimize
After setup, walk around your property to test angles, lighting, and motion alerts. Check video playback to ensure everything records correctly. If the footage looks dark, adjust the camera’s angle or enable infrared mode.
8. Maintain and Update Regularly
Clean the camera lens occasionally to keep images clear. Update your app and firmware for improved performance and security. If you’re using cloud storage, check that it’s working properly to avoid losing important footage.
Conclusion
Installing a home surveillance system may seem challenging, but it’s easier than you think with proper planning. Once installed, it provides peace of mind and helps deter unwanted visitors. With today’s smart technology, you can monitor your home anytime and anywhere—keeping your loved ones and property safe.
Related Posts
 How to Install Home Security Camera Easy and Efficient
 Best Dual-Lens Security Cameras For Home Surveillance 2024
 Laws on Outdoor Surveillance Cameras for Home: A Complete Guide
 Can Tenants Install Security Cameras Inside or Outside Their Apartments?
 The Ultimate Guide on How to Install Wireless Security Cameras for Beginners