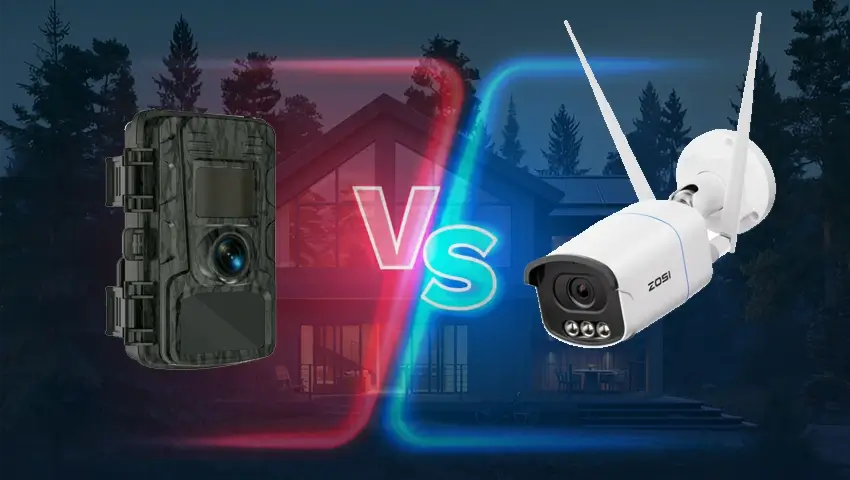
The installation of cameras is a crucial component of home security. Knowing how to install security camera wiring can present difficulties. However, most security camera systems feature detailed instructions to help you connect your setup correctly and begin operating. If you’ve ever considered surveillance cameras installation costs around your house but assumed they would be too expensive or hard to set up, you’ll be happy to learn that’s not the case.
Our guide can help you understand the fundamentals of security camera installation and assist you in developing a robust security camera setup.
Contents
Part 1: Create an Installation Plan
Before you start a video surveillance project by yourself, whether it is a wireless security camera or a PoE IP camera system, there’re several things you need to prepare and plan ahead.
- Start by sketching out your home’s layout and pinpointing priority areas that require monitoring. Planning where to place your home security cameras determines whether you can maximize the effectiveness of your camera.
- Consider potential camera angles as you identify typical security camera placements, including entry doors, off-street windows, porches, stairways, driveways, and interior common rooms.
- Walk around your home and carefully check each location to ensure there are no obstructions and that there is a clear line of sight.
- Suppose you’re installing a security camera outside. In that case, aim to choose a location that is higher than 10 feet and provides some protection from inclement weather. Outdoor-rated cameras are designed to last, and choosing an appropriate camera placement will extend the life of the device.
- If you are using a wired system, plan the location of the components and figure out how you will run the wires connecting the cameras to the DVR box. Running the cable for a wired system will require drilling holes into walls and ceilings, so measure the area to determine the length of the cables you will need.
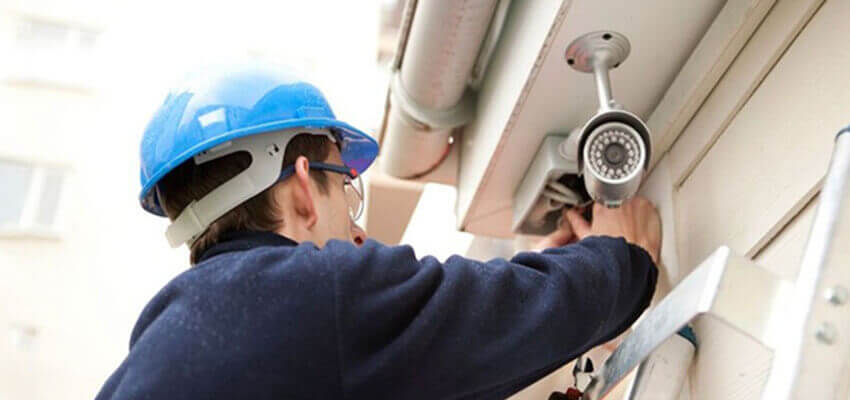
- If you’re not comfortable drilling or running cable, opt for the services of a professional installer who can ensure that your security cameras are appropriately placed and functioning effectively.
By taking these steps, you can ensure that your security camera setup is optimized for maximum protection and security.
Part 2: Purchase Home Security Cameras
As you learn how to install a security camera, it’s time to decide between a wired setup or a wireless setup and determine which security camera features you prefer.
- Wireless security cameras are typically the most convenient installation option, requiring minimal drilling. However, powering the cameras can be a challenge. Additionally, image quality can be reduced based on the area you’re trying to cover, as interference can diminish the picture the farther the camera is positioned from the receiver.
- Wired security cameras are recommended for larger properties, but their installation process may require additional steps.
- Bundled home security camera systems offer the best value and are the most convenient option since all required accessories for installation are included. Carefully read the packaging to determine the features available in each system and select the best one according to your needs.
- Motion-sensor cameras can help save recording space and energy and are available for both indoor and outdoor setups. They operate at low power until they detect movement, then “wake up” and capture images.
- For added security, remote viewing is a feature that allows you to stream footage to your laptop or smart device. Although more expensive, it may be worthwhile if you’re frequently away from your property or have children who are old enough to be home alone.
- When shopping, check your setup plan to determine whether you require extra security camera cables or cable extenders for your wired security system.
- You may also be able to purchase weather shields to protect outdoor security cameras from rain and snow without obstructing the view.
- It is best not to install a security camera below windows. Or else, the IR reflection may lead to overexposed images and videos (click here to learn more).
- A separate recording device, such as a digital video recorder (DVR) or a network video recorder (NVR), is required to store footage from your security system. Although it is possible to purchase a DVR separately, most complete systems are sold with a recording device.
- After purchasing your selected system, it is essential to unpack, connect, and test all the components before installation. If you have a wired system, lay out all included security camera cables to ensure you have adequate length to reach all camera locations. If the cables are not long enough, purchase cable extenders or consider reworking your setup.
By carefully considering which installation option and features best suit your needs, you can have peace of mind knowing that your security cameras are appropriately installed and functioning correctly.
Part 3: How to Mount a Wireless Security Camera
When installing a security camera, it’s essential to locate a suitable, sturdy surface for mounting. Camera mounts typically feature screws for attachment, and most camera kits come with a drill template to help you place the screws accurately.
- Start by using the mounting template as a guide and drilling pilot holes at the indicated locations for the mounting screws.
- Install any provided mounting pins by gently tapping them with a hammer into the pilot holes.
- Once completed, screw the camera mount securely into the wall to ensure that the camera remains stable.
Ensuring that your security camera is appropriately mounted is essential to obtaining optimal and clear footage. By following these steps and carefully drilling pilot holes and attaching the camera mount securely, you can feel confident that your security camera is correctly installed and providing you the protection and security you require.
Here comes a CCTV camera installation video, providing step-by-step instructions on mounting a dome security IP camera.
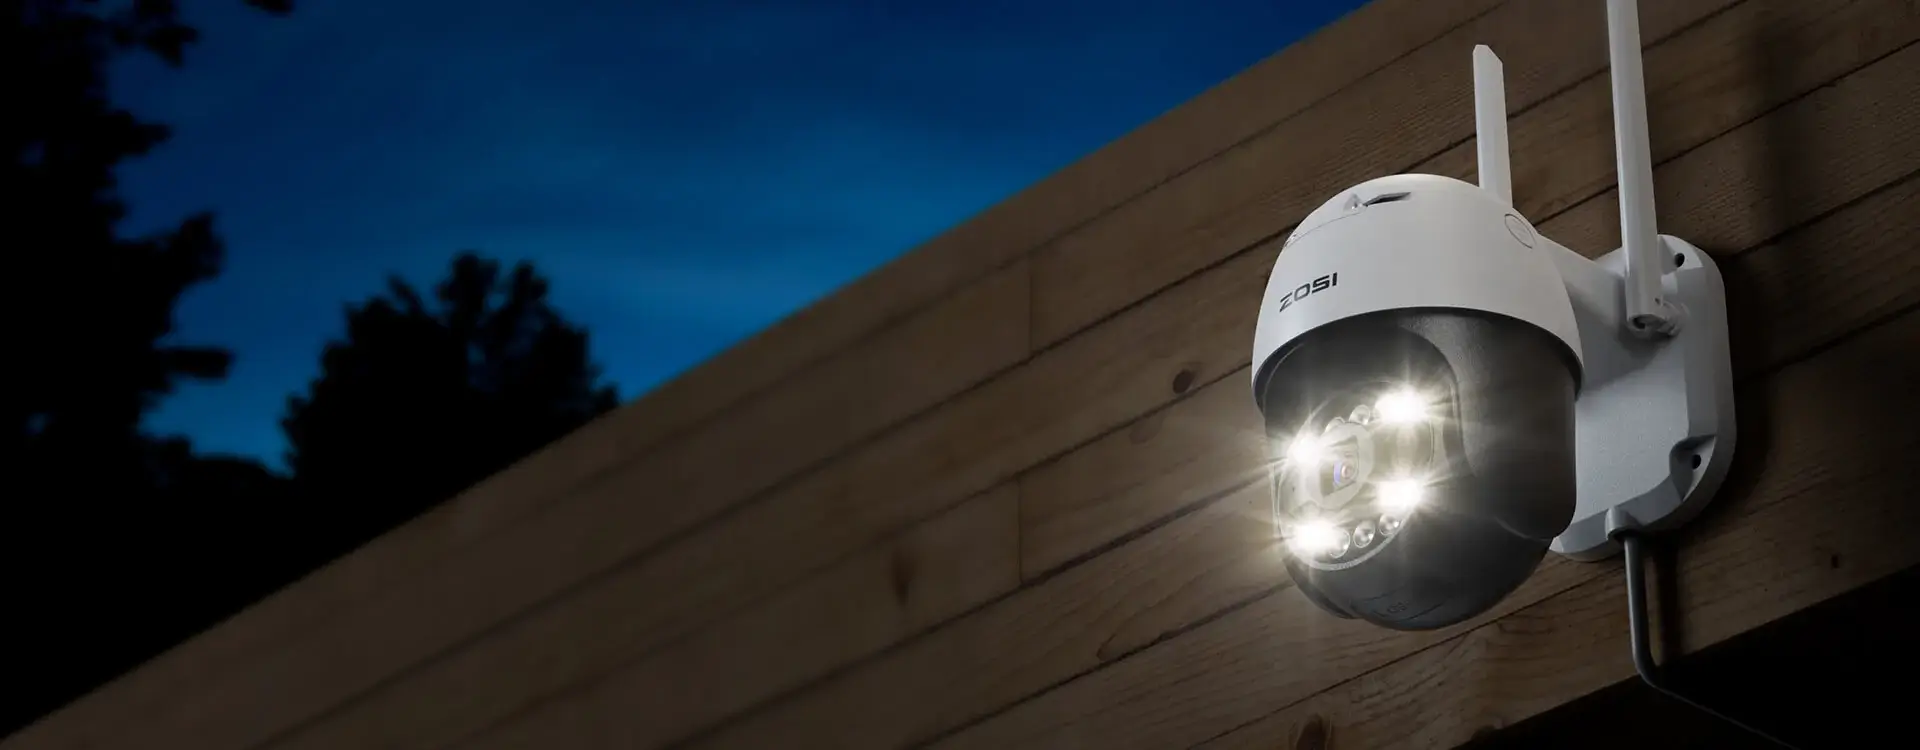
If you are installing a PTZ IP camera, another key step is the vertical bracket installation. Get to know more about how to install the vertical bracket of C296, the most powerful high-speed PTZ IP camera.
C296 - Pan Tilt IP Security Cameras
- 4K Ultra HD/5MP Super HD
- Starlight Color Night Vision
- Pan & Tilt
- PoE/WiFi Connection
- Light & Siren Alarm
- Upgraded AI-Powered Detection
- 2-Way Audio
Wireless IP camera connection diagram:

Part 4: How to Mount a Wired Security Camera
Installing a security camera for a wired setup requires attaching the camera mounts and running the cables from the camera to the DVR box, following your layout plan.
- To begin, use the mounting template as a guide and drill pilot holes for the mounting screws.
- Using a spade bit, drill a larger hole in the center of the guide. This hole will be where the cables will exit.
- Next, run the security camera cables through the camera mount point and behind the wall, using your plan as a guide, until you reach the mounting point for the DVR box. In tight spots or when running the cables behind the wall, fish tape can be utilized to help feed the cables safely. It may be necessary to have a helper during this stage of the installation process.
Ensuring that all components of your wired security camera setup are correctly connected is critical in achieving optimal surveillance coverage. By following these steps and planning appropriately, you can ensure that your security cameras are mounted securely and cabled properly for optimal performance.
PoE security camera connection diagram:

Part 5: Install the Cameras
- If your Wi-Fi cameras rely on batteries, install them first before proceeding with the setup.
- For wired systems, connect the cable extending from the wall to the camera.
- Attach the camera to the power source if required.
- Next, securely attach the camera to the mount, adjusting it to the desired angle to ensure optimal coverage.
- Repeat these steps for each camera location, ensuring that the installation process is carried out with precision and accuracy.
- In addition, you must also think when there is a sudden power outage. This is also when intruders attempt to cut the power supply in your home. Also, ensure that the home security system is connected with a generator. This way, it can work on a consistent basis or even under such circumstances.
By following these steps and ensuring that all components are correctly installed, you can have peace of mind knowing that your security cameras are effectively monitoring your property.
Part 6: Connect Security Cameras to the Network
For wired security camera systems, connect the input cable of each camera to the correct input port on the DVR box and write down which port corresponds to each camera. If your monitor can only display one camera at a time, remember each input number for selecting the camera you want to view.
- Connect the DVR output port to your monitor input slot, ensuring that all components are connected to a power source and that all cables are securely attached.
- For wireless systems, install the provided software and follow the given instructions to complete the installation process.
- If you want to view the camera feed remotely, record the IP address of the wireless camera and enter it into a web browser.
When planning how to install a security camera, determine which areas of your home require surveillance, and then identify the camera features that best fit your specific needs. The installation process involves placing the camera mounts and securing the cameras in place. Wired systems also require you to place the camera cables appropriately.
Taking the time to plan your installation carefully and utilizing these tips for installation can help you ensure that your security cameras are properly installed, providing you with peace of mind and excellent protection.
Conclusion
When installing a home security video surveillance system, remember that there are numerous options to choose from, and the process can be enjoyable and straightforward. Begin by selecting a camera specifically designed for DIY users, and then review home security system feedback and ratings to determine which may best accommodate your requirements.
By carefully considering your security needs and selecting an appropriate camera, you can create a comprehensive surveillance solution that offers you peace of mind, ease of use, and excellent protection.
