Can You Cut LED Light Strips? Absolutely — but doing it correctly is crucial to preserving their performance. LED strip lights are designed for flexibility and customization, but cutting them without understanding their structure can lead to malfunction or permanent damage. In this guide, we’ll explain where and how to cut LED strips safely, how to reconnect them when needed, and key tips to avoid common mistakes, so you can tailor your lighting setup with confidence.
Contents
Understanding LED Strip Lights
Before diving into the cutting process, let’s break down how LED strip lights work.
1. What Are LED Strip Lights?
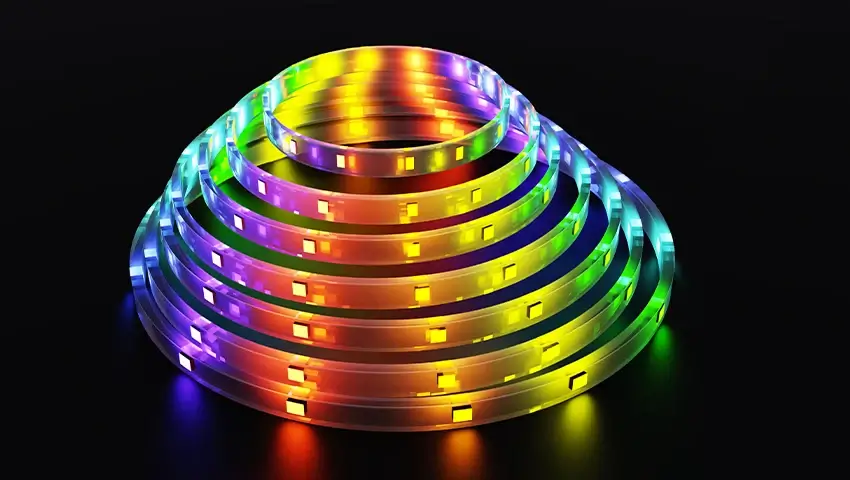
LED strip lights consist of multiple small light-emitting diodes (LEDs) placed along a flexible circuit board. They come with an adhesive backing for easy installation and are available in various designs:
- Single-color LED strips – Emit a fixed light color (e.g., warm white, cool white).
- RGB LED strips – Allow you to switch colors and control brightness.
- Smart LED strips – Can be controlled via Wi-Fi, Bluetooth, or voice assistants like Alexa or Google Home.
2. The Role of Cut Marks
Each LED strip contains predefined cut marks, typically indicated by a scissor icon or dashed lines. These marks separate small electrical circuits, ensuring that the strip remains functional even after cutting.
Cutting anywhere outside these marks can break the circuit, causing some sections to stop working.
Can You Cut LED Strip Lights? The Right Way to Do It
Yes, But Only at the Marked Cut Points
Not all LED strips are cuttable, so the first step is to check the manufacturer’s instructions. Most standard LED strips (12V or 24V) allow cutting at specific intervals, usually every 3 or 6 LEDs.
can-you-cut-led-strip-lights
Tools Required:
- Sharp scissors or precision cutting knife
- Cutting mat (optional, for stability)
- Ruler (for precise measurement)
- Electrical tape or heat shrink tubing (if sealing is required)
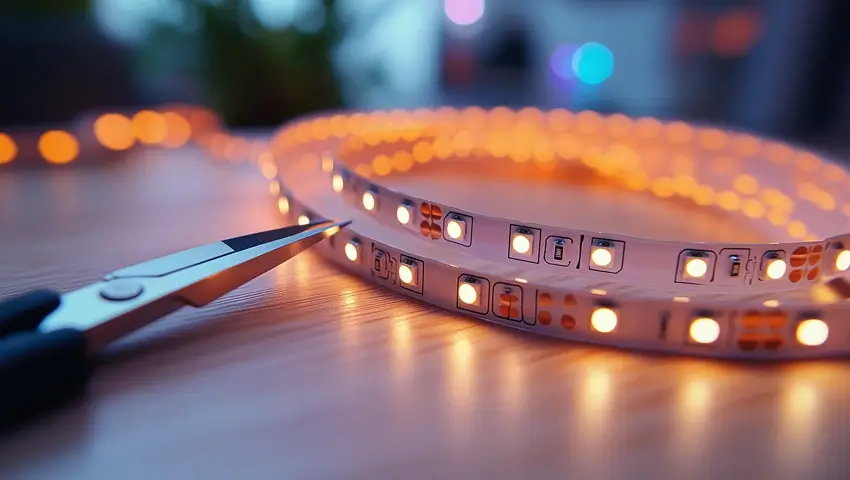
Step-by-Step Cutting Guide
- Find the cut mark – Identify the scissor icon or dashed line.
- Measure before cutting – Ensure the strip length fits your space.
- Cut straight across the line – Avoid damaging the copper contacts.
Pro Tip: If your LED strip has a waterproof silicone coating, you may need to peel back the coating before cutting and reseal it afterward.
How to Reconnect LED Strip Lights After Cutting
Once cut, you might need to reconnect the LED strips, either to extend them or to attach them to a power source. There are two main methods for doing this:
Method 1: Using LED Strip Connectors (Quick & Easy)
For those without soldering skills, LED strip connectors are the best option.
How to use clip-on connectors:
- Open the connector clip.
- Insert the cut end of the LED strip, ensuring the copper pads align.
- Close the clip securely.
- Test the LED strip to ensure proper connectivity.
Tip: Make sure you choose a connector that matches your strip type (single-color, RGB, or RGBW).
Method 2: Soldering LED Strips (For a Permanent Connection)
For a stronger and more reliable connection, soldering is the preferred method.
Steps for soldering LED strips together:
- Apply a small amount of solder to the copper pads on both strips.
- Use short wires to bridge the connection, ensuring the + and – terminals match.
- Cover the soldered joint with heat shrink tubing to prevent short circuits.
Best for: Permanent installations and professional setups.
Common Mistakes to Avoid When Cutting LED Strip Lights
- Cutting Outside the Marked Line: This can disrupt the circuit, making part of the strip non-functional.
- Using Dull or Incorrect Tools: A poor cut can damage the circuit board, leading to electrical issues.
- Ignoring Waterproof Coating: If your LED strip is waterproof, reseal the cut end with silicone glue or heat shrink tubing to maintain protection.
- Reversing Polarity When Reconnecting: Connecting wires incorrectly (+ to -) can cause the strip to malfunction or not turn on.
Bonus: Pro Tips for a Professional LED Strip Installation
- Test Before Installing: Always connect and test the LED strip before attaching it to surfaces.
- Use a Proper Power Supply: Ensure the voltage matches your LED strip (12V, 24V, or 5V).
- Secure Connections: If using connectors, ensure they snap tightly for stable performance.
- Hide the Wires for a Cleaner Look: Use cable channels or mounting clips to keep the installation neat.
FAQs
1. Can all LED strip lights be cut?
No, some LED strips cannot be cut—especially smart LED strips with built-in chips. Always check the product specifications first.
2. What happens if I cut an LED strip in the wrong place?
If you cut outside the designated mark, the circuit may break, rendering part of the strip unusable.
3. Can I cut and reconnect RGB LED strips?
Yes, but you must use RGB connectors or solder all four wires (R, G, B, and +12V/24V) correctly.
4. Can I cut waterproof LED strips?
Yes, but you need to reseal the cut end using silicone sealant or heat shrink tubing to maintain water resistance.
Conclusion
Can You Cut LED Light Strips? Yes, but precision is essential. Cutting only along the marked sections preserves the functionality of the strip and ensures a reliable performance. Whether you’re adjusting the length for a perfect fit or creating a custom layout, careful cutting and proper handling are key to achieving a seamless and durable lighting setup.